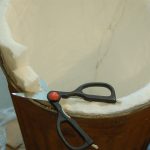
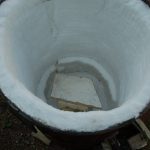
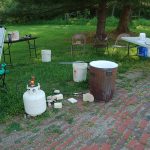
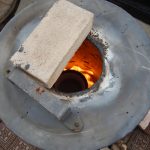
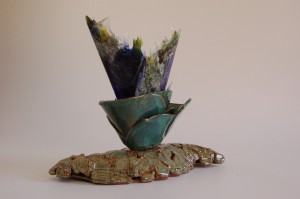
I taught a Raku class recently and as usual I learned a lot. But first I had to refurbish my Raku kiln. I’ve had this kiln since the mid 80’s? and the last time I used it I burned too much gas. So I ordered a new kiln blanket, and relined the original kiln right on top of the old liner. The blanket is made of spun kaolin fibers and create a fabulous heat barrier in a tiny space. 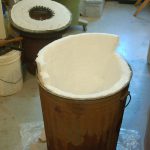
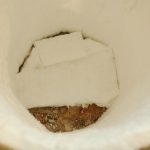
After piecing together some scraps on the bottom of the kiln and using high temperature wire to secure the seam it was time to apply heat!
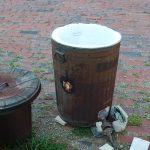
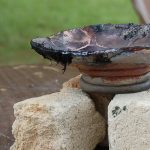
It was a beautiful morning when I set up the kiln. I used some soft brick stacked two high to hold the kiln shelf. In Raku firing the pieces are usually fired one at a time so the shelf is pretty small. A round shaped kiln is also a plus as it directs the flame around the piece keeping the temperature more even. A small gas tank is attached and we are ready to fire!
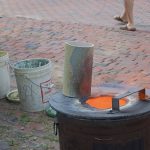
As students arrive and glaze their pieces we get a rhythm going, preheating the next pot on top of the kiln helps to move things along as the piece is already hot when I restart the kiln. Each firing takes 15- 30 min.
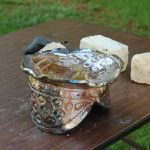
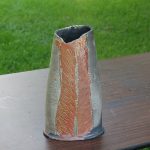
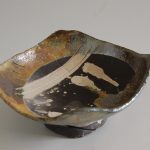
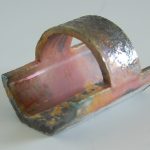
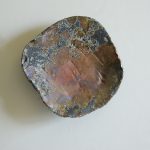
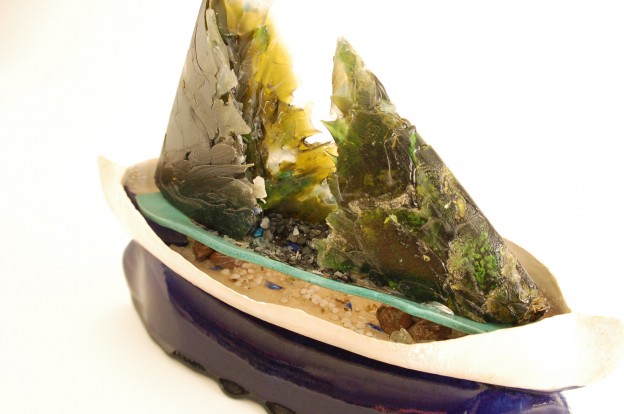
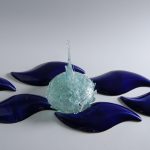
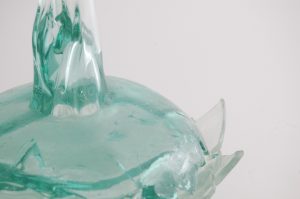
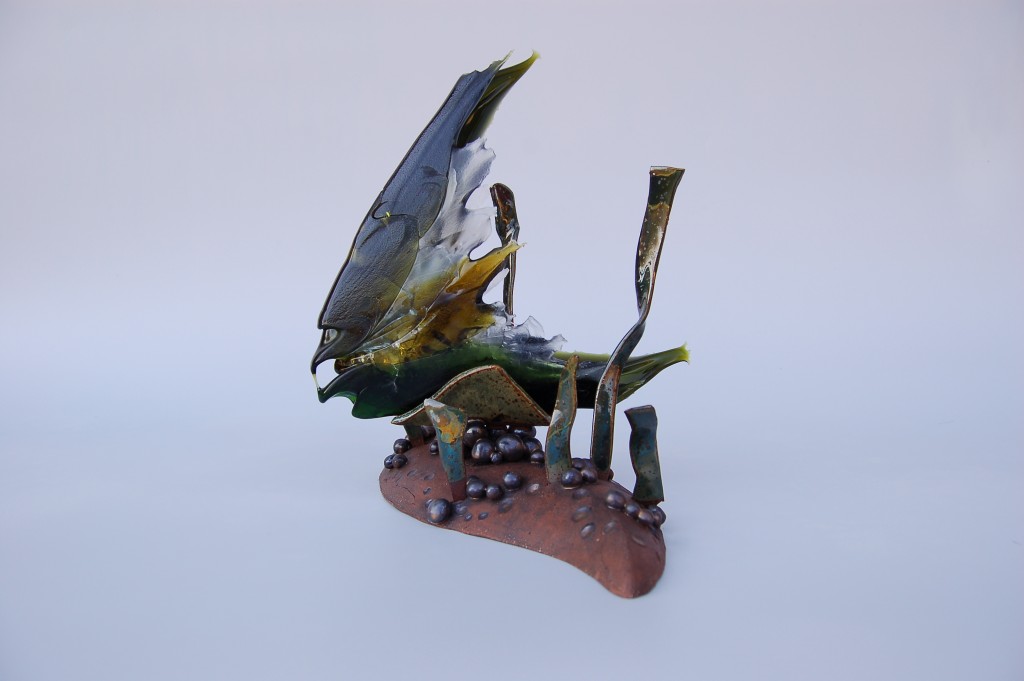
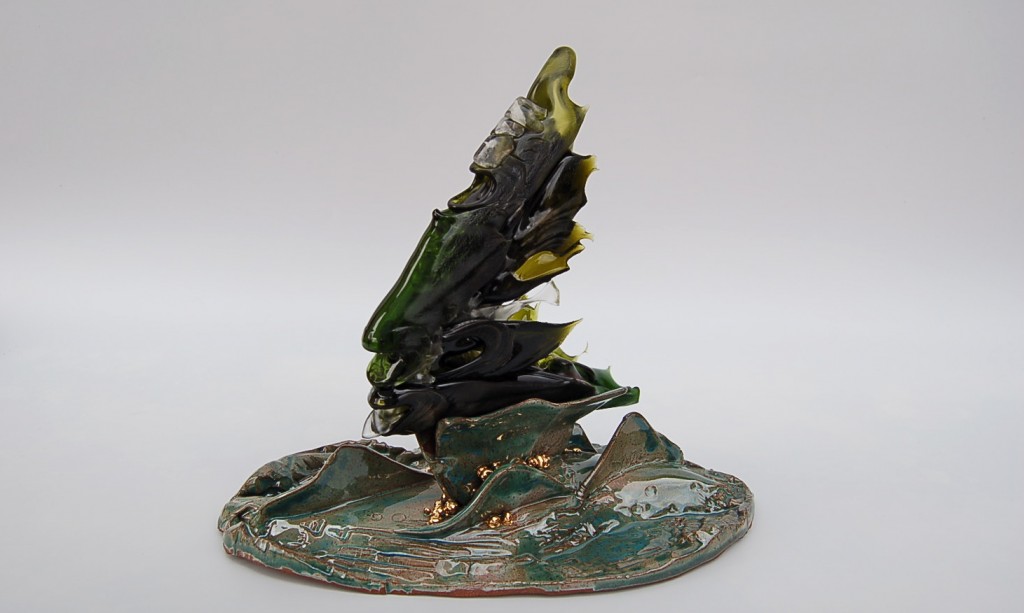
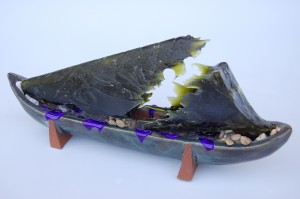
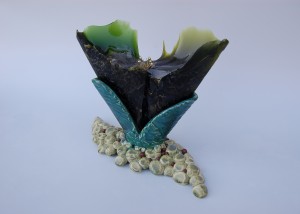
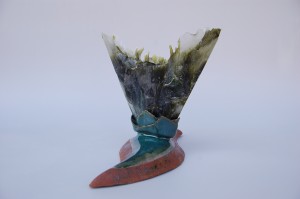
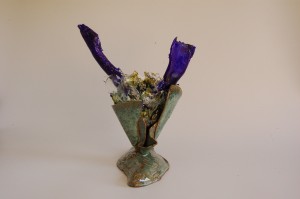
Some of the finished ware.

