Tag Archives: how-to

How I Photograph my Pottery

The three most important things about selling on line are 1- the photograph 2- the photograph and 3- the copy.  Let’s face it when someone is scrolling through thousands of available products you have about a 60th of a second to catch their eye and then you have a moment to get their attention.

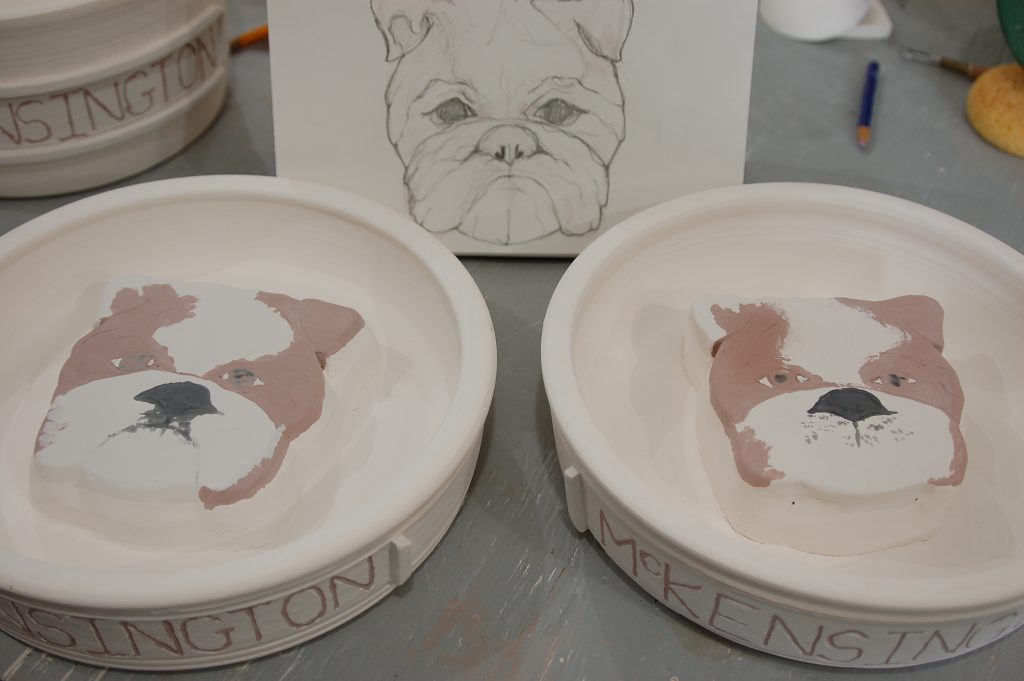
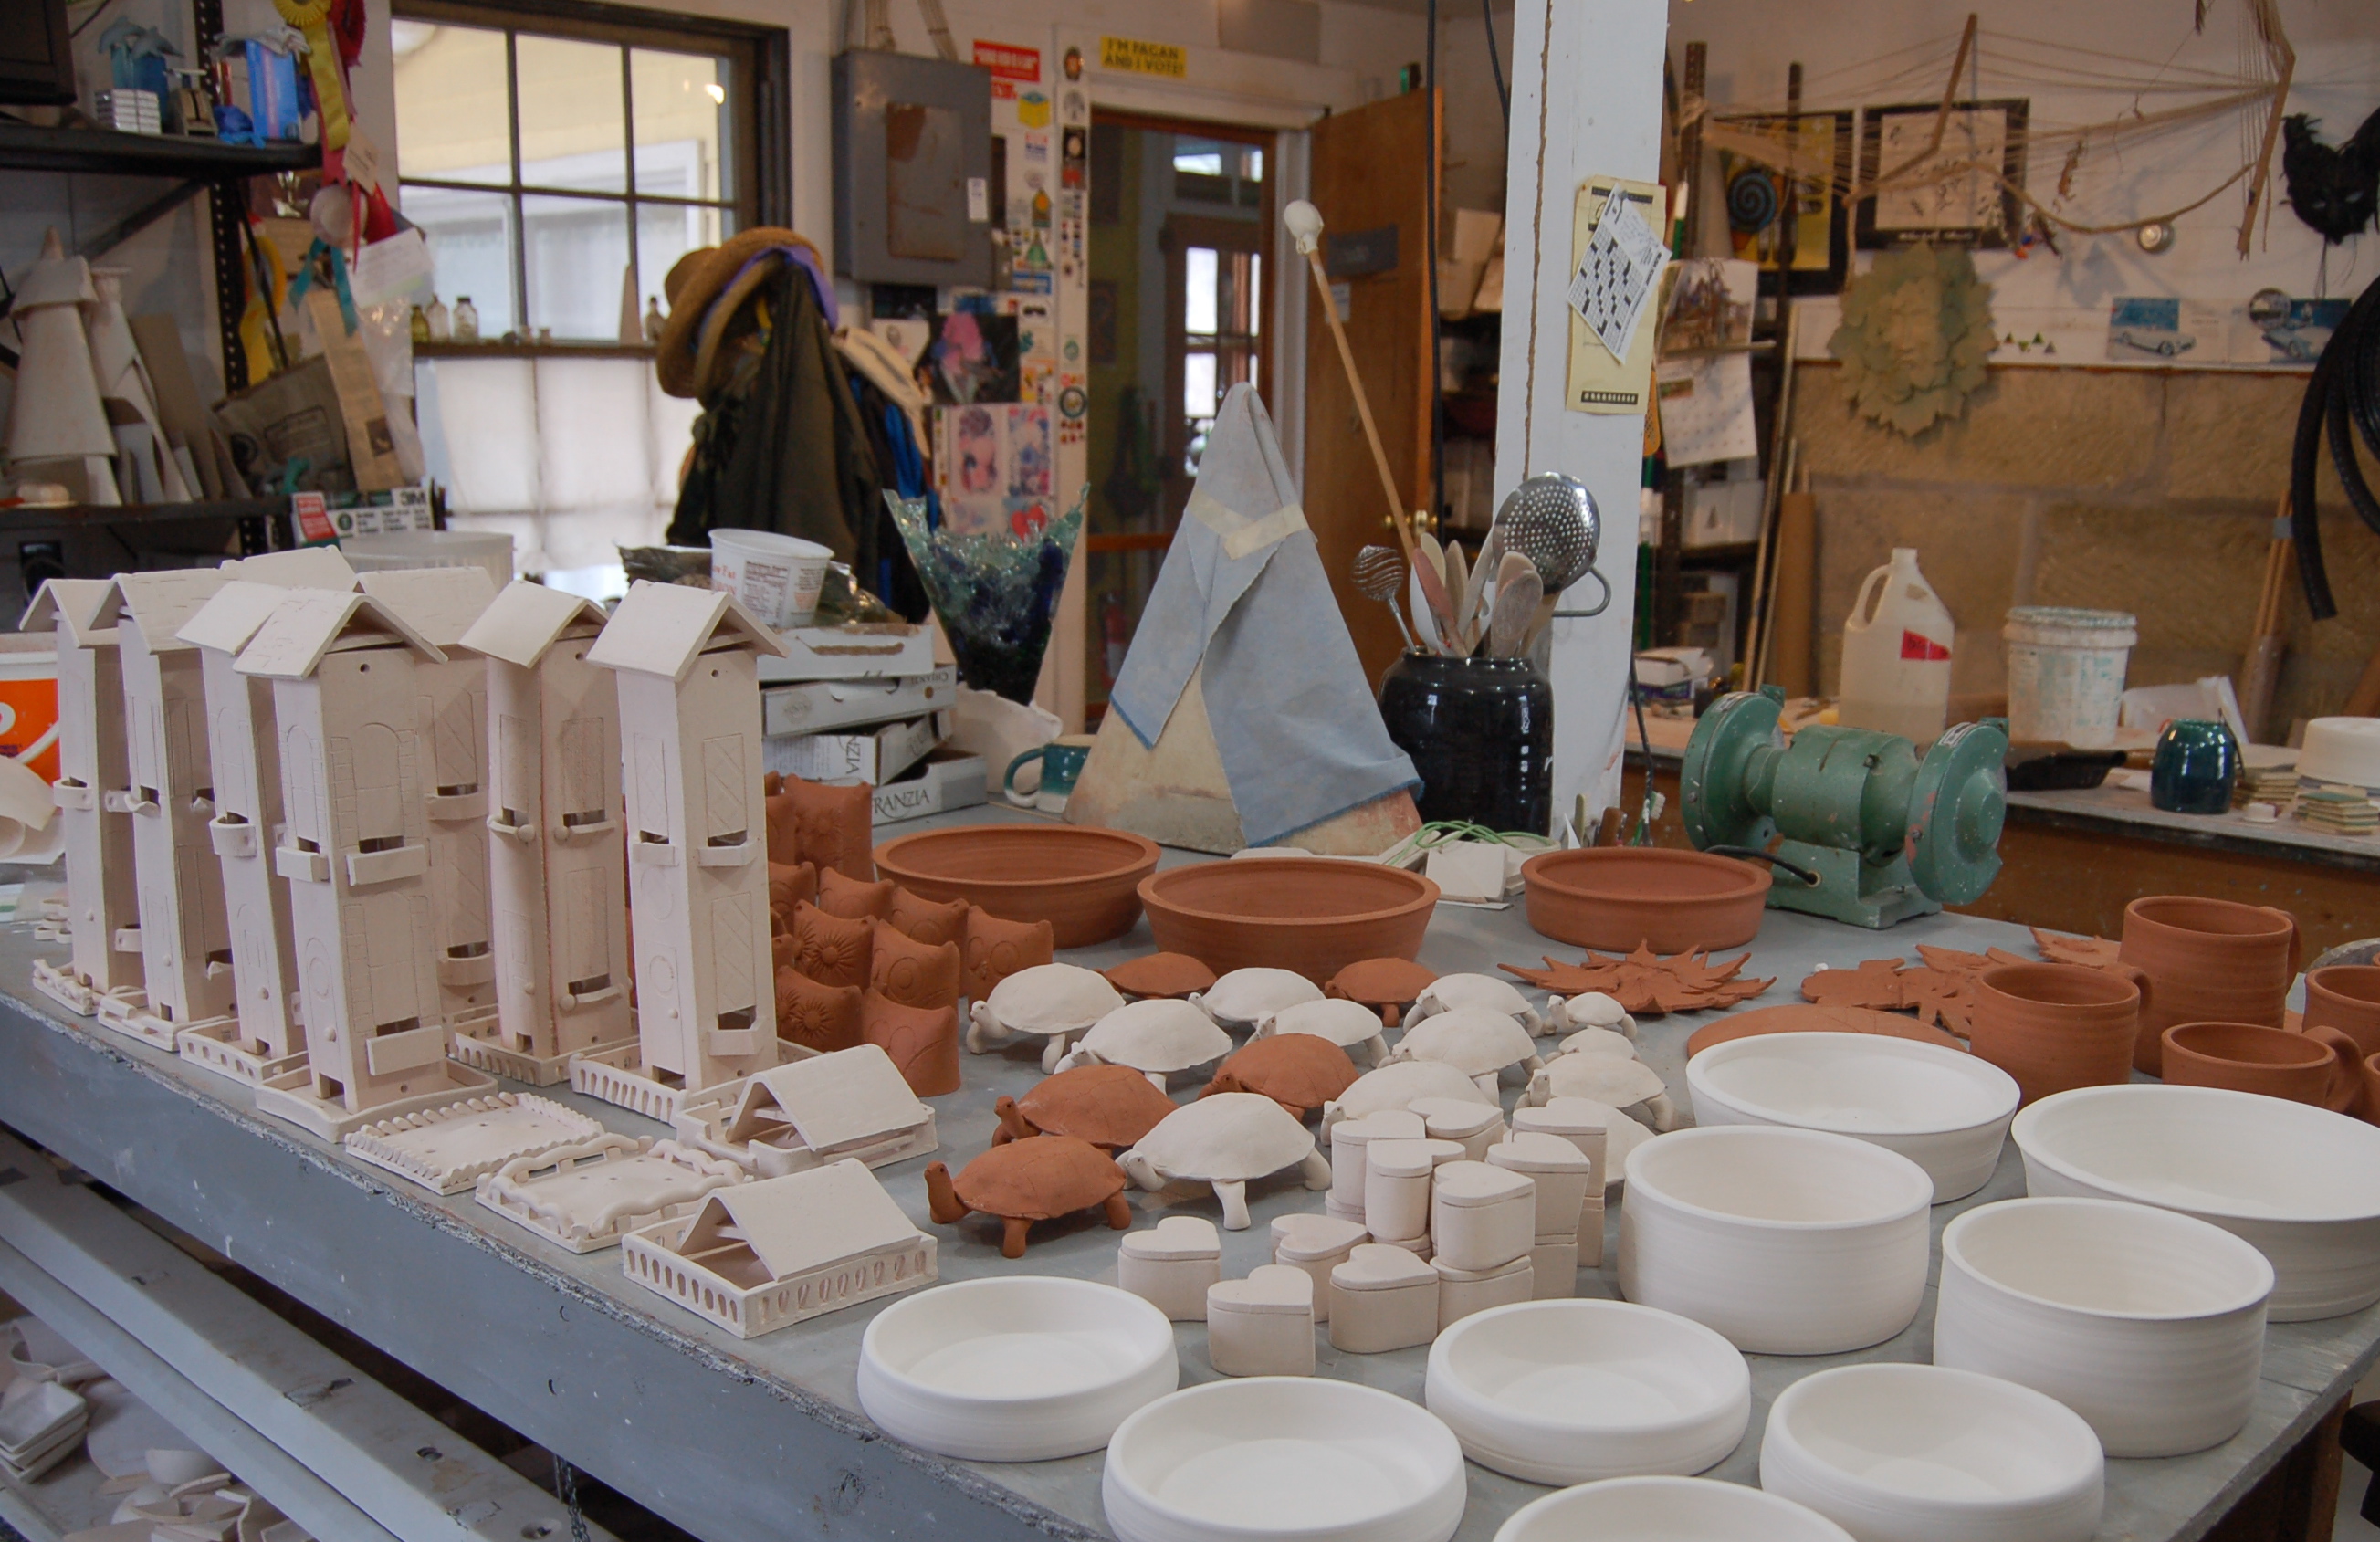
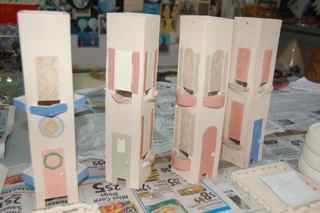
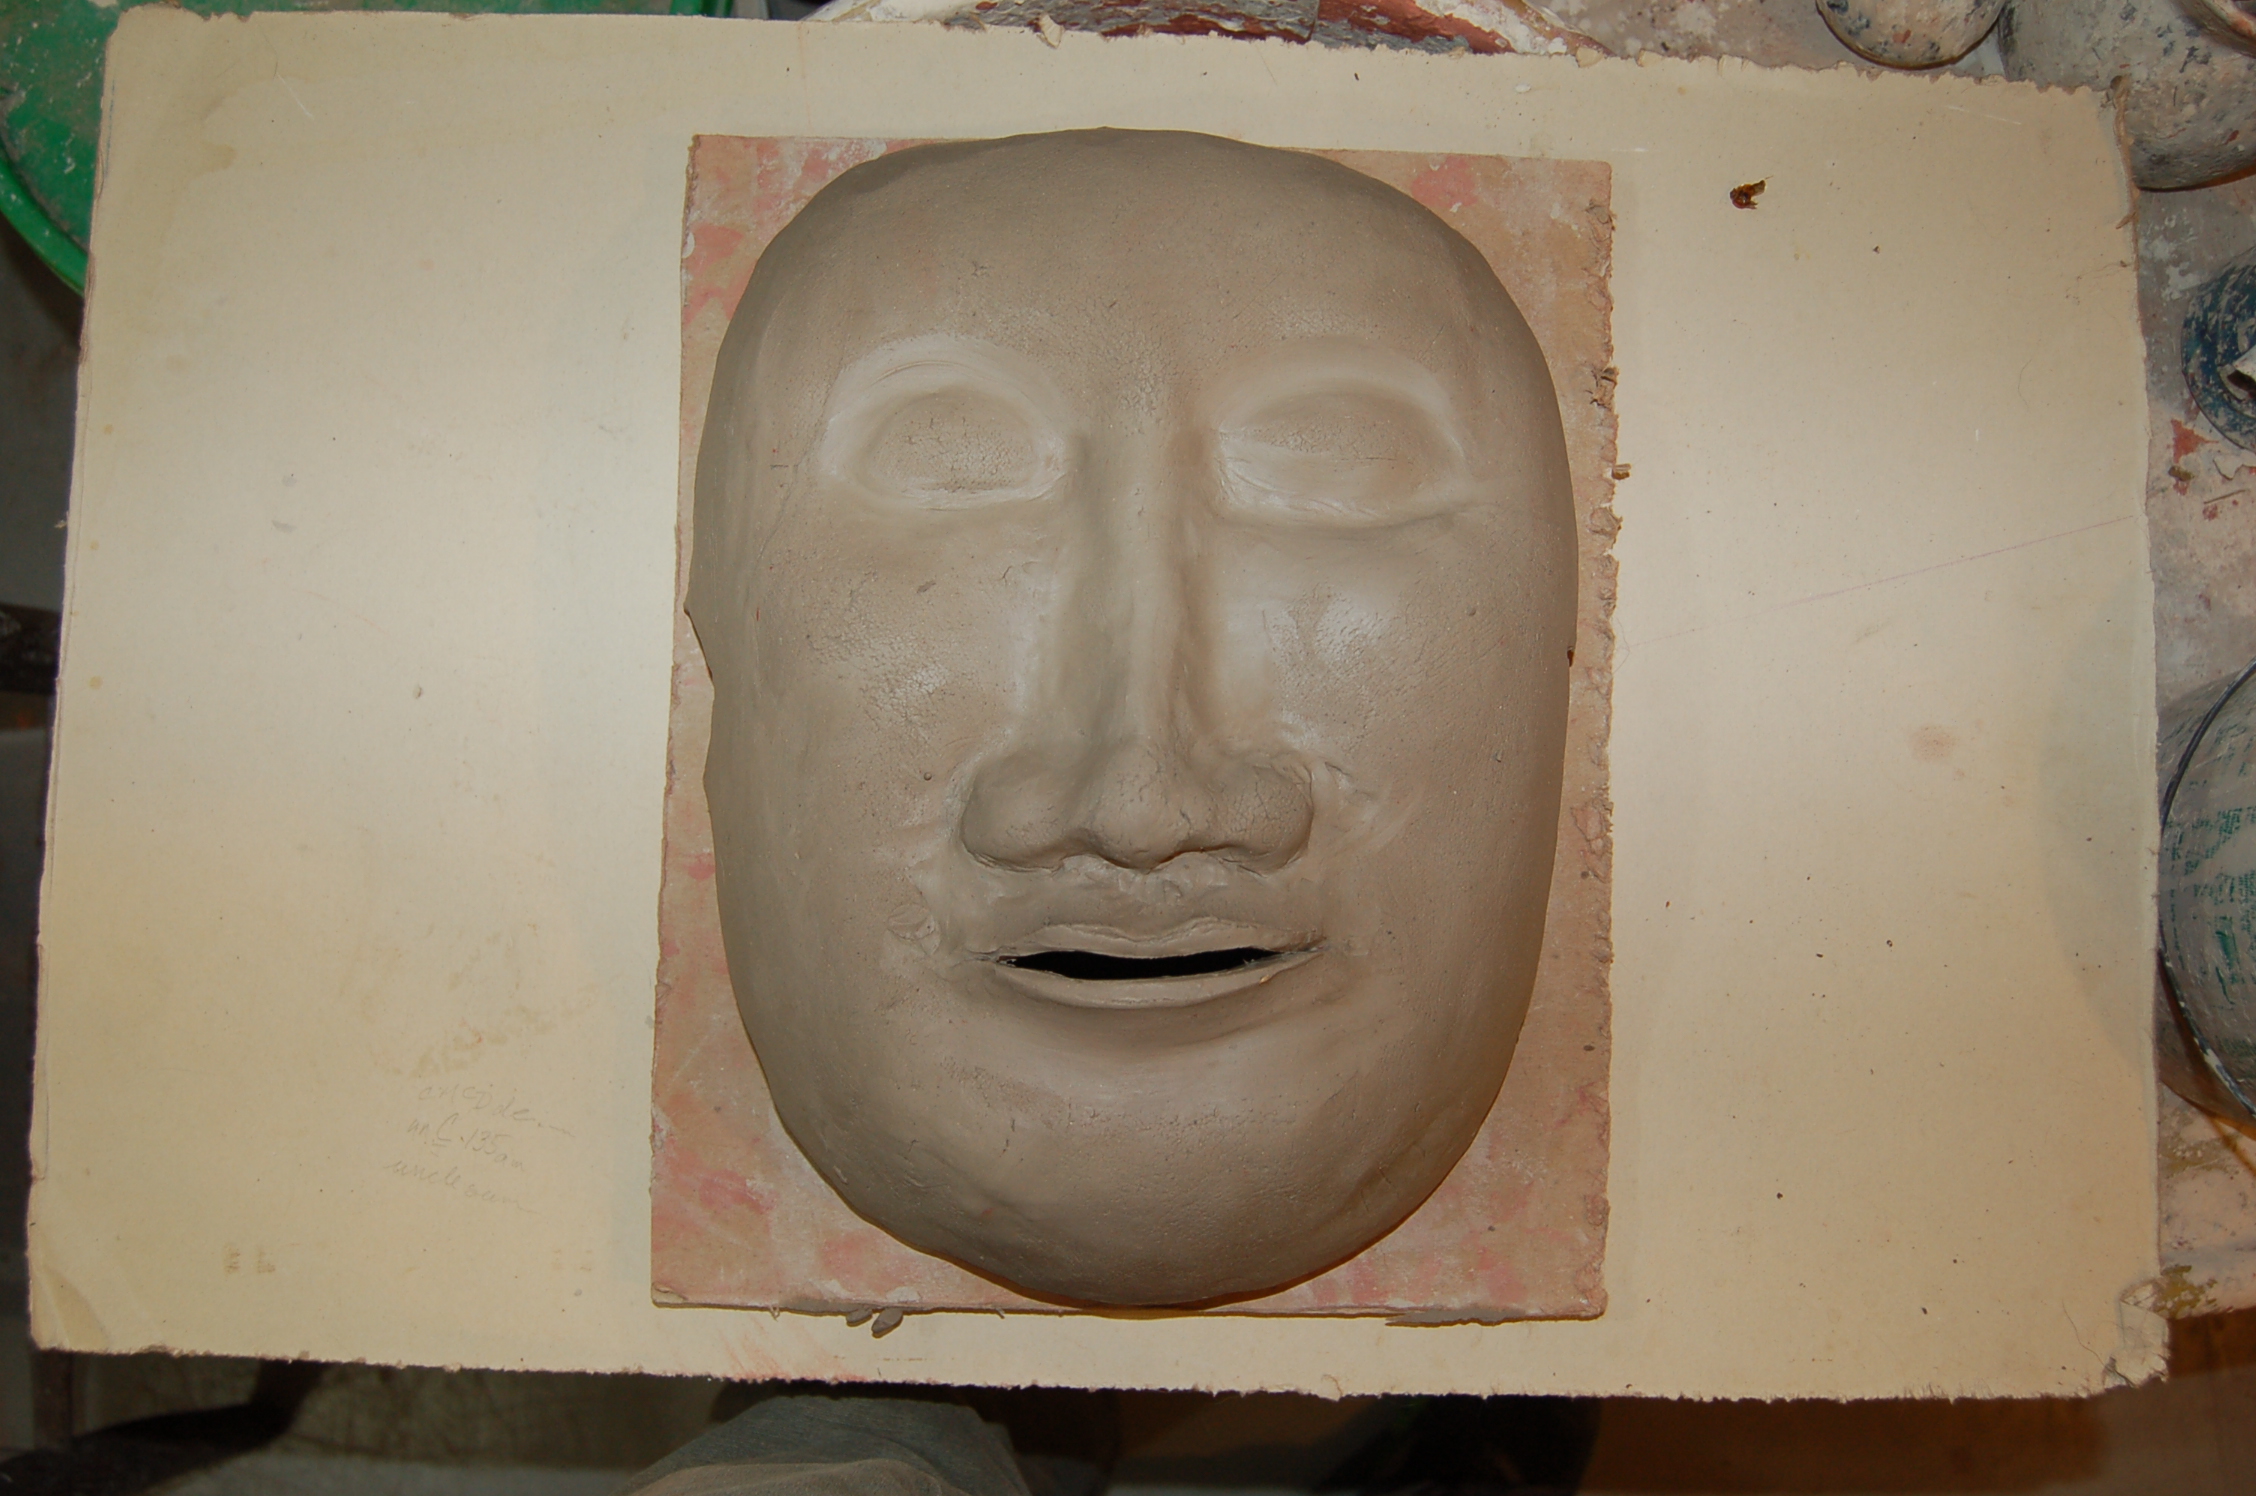
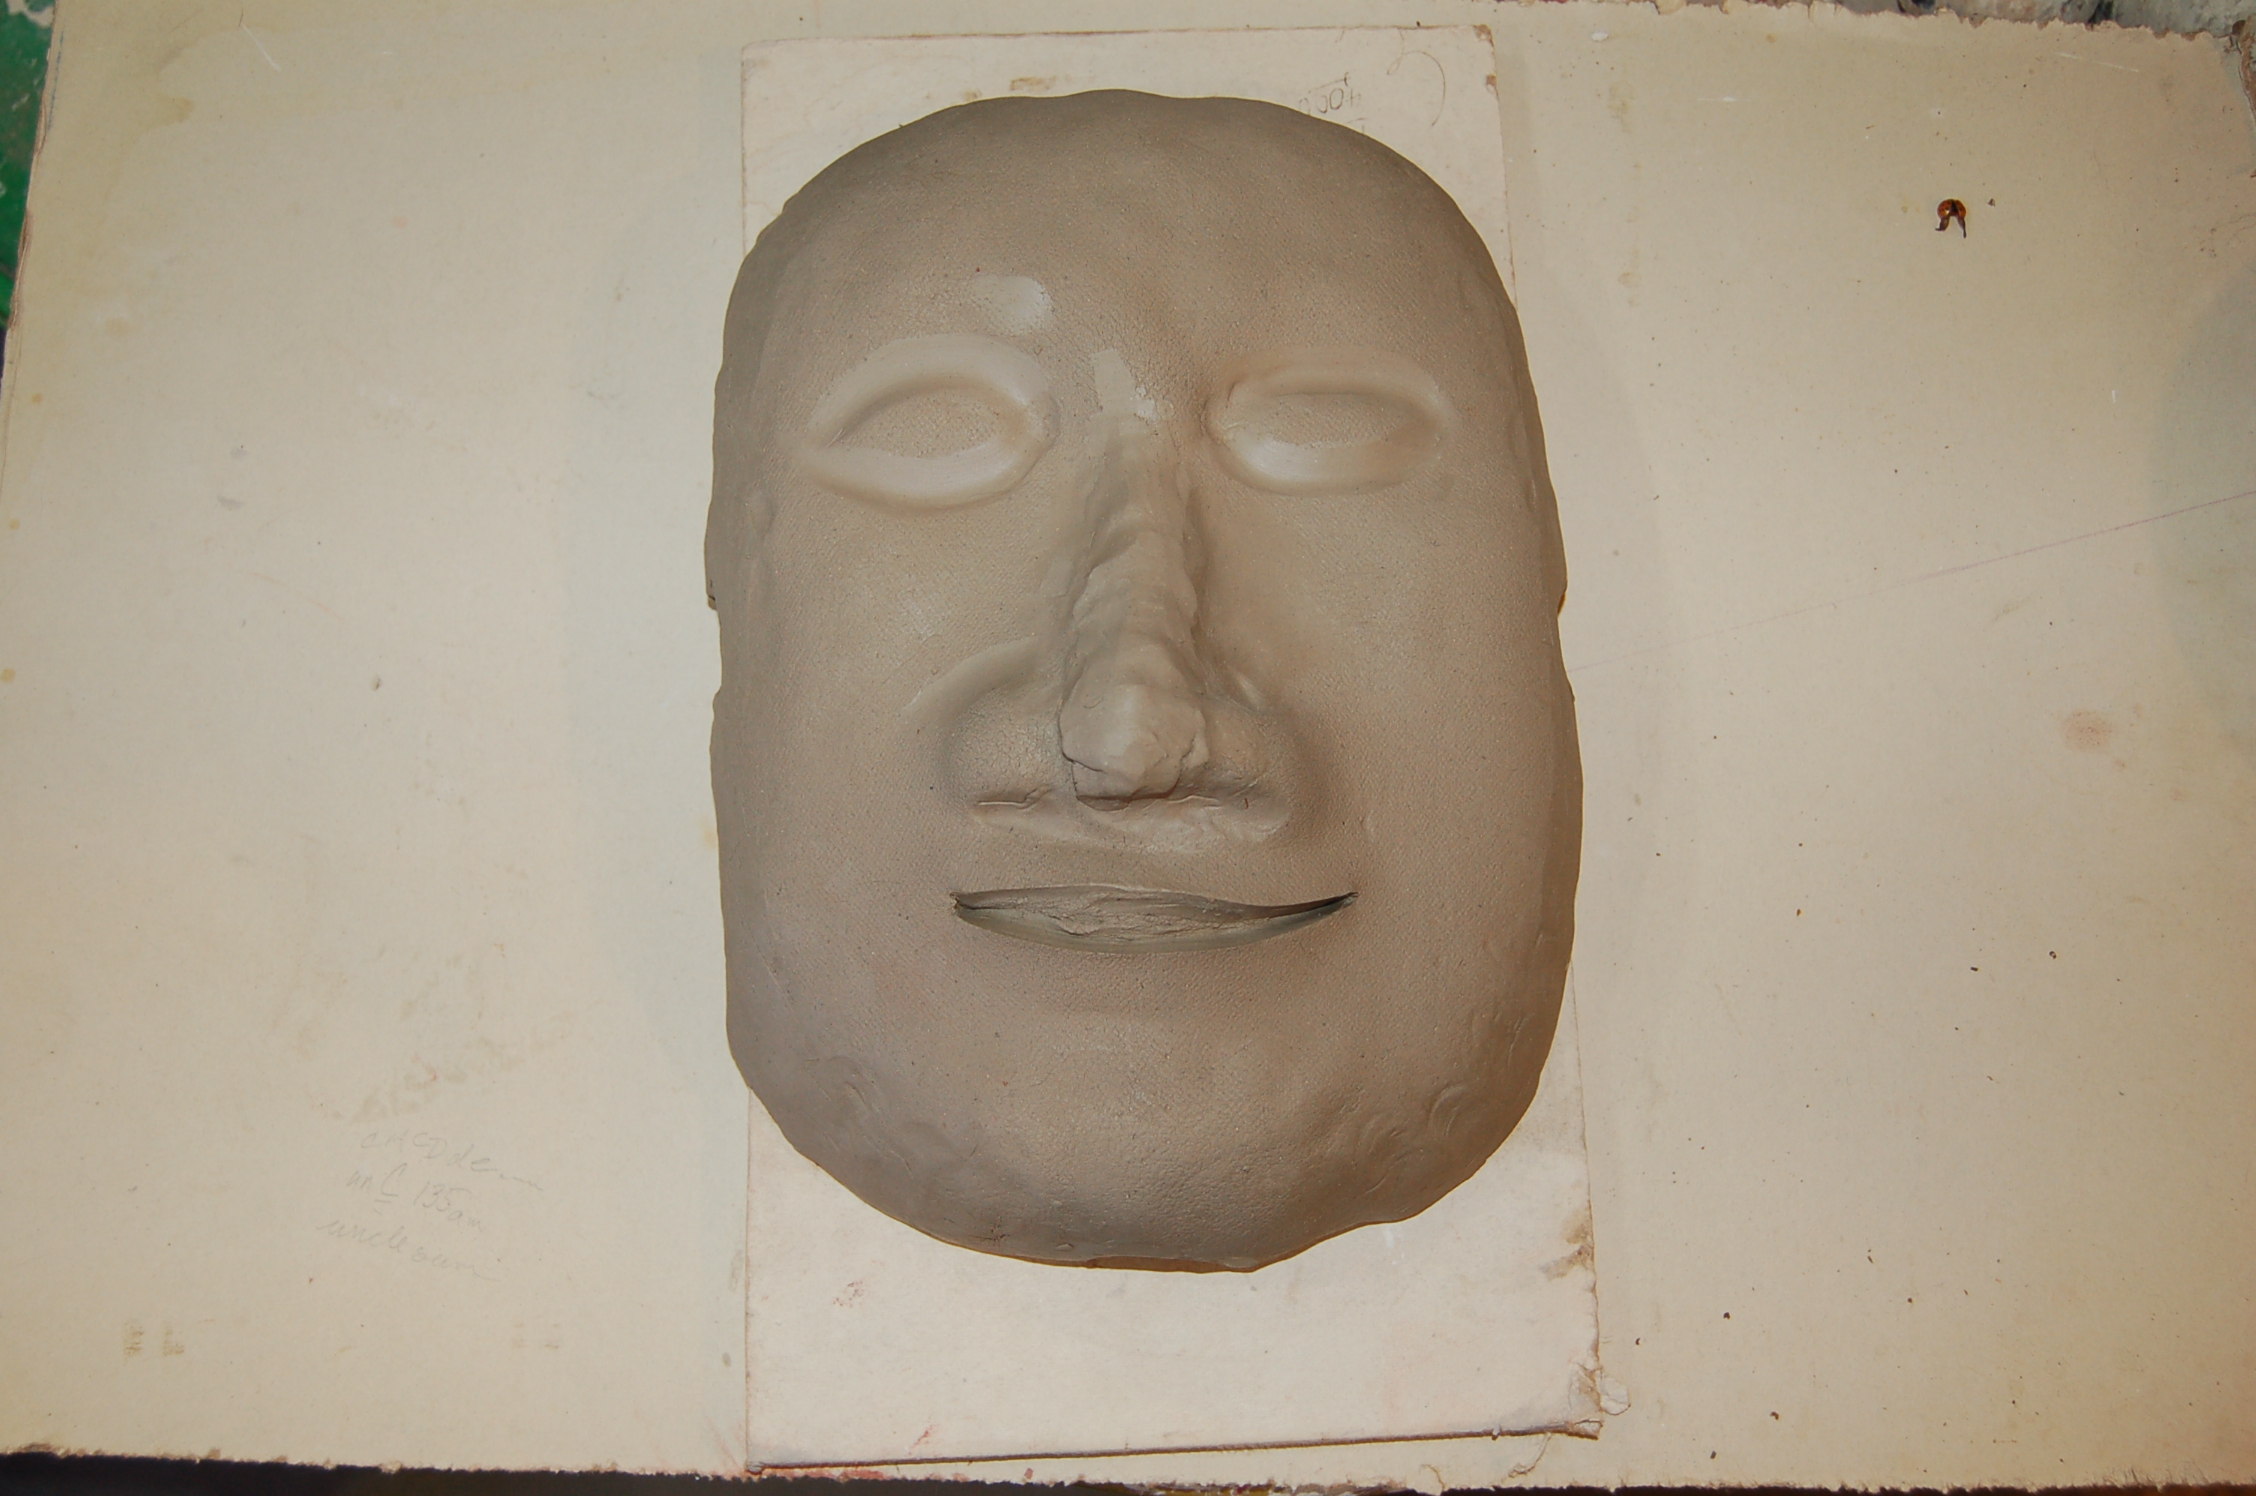
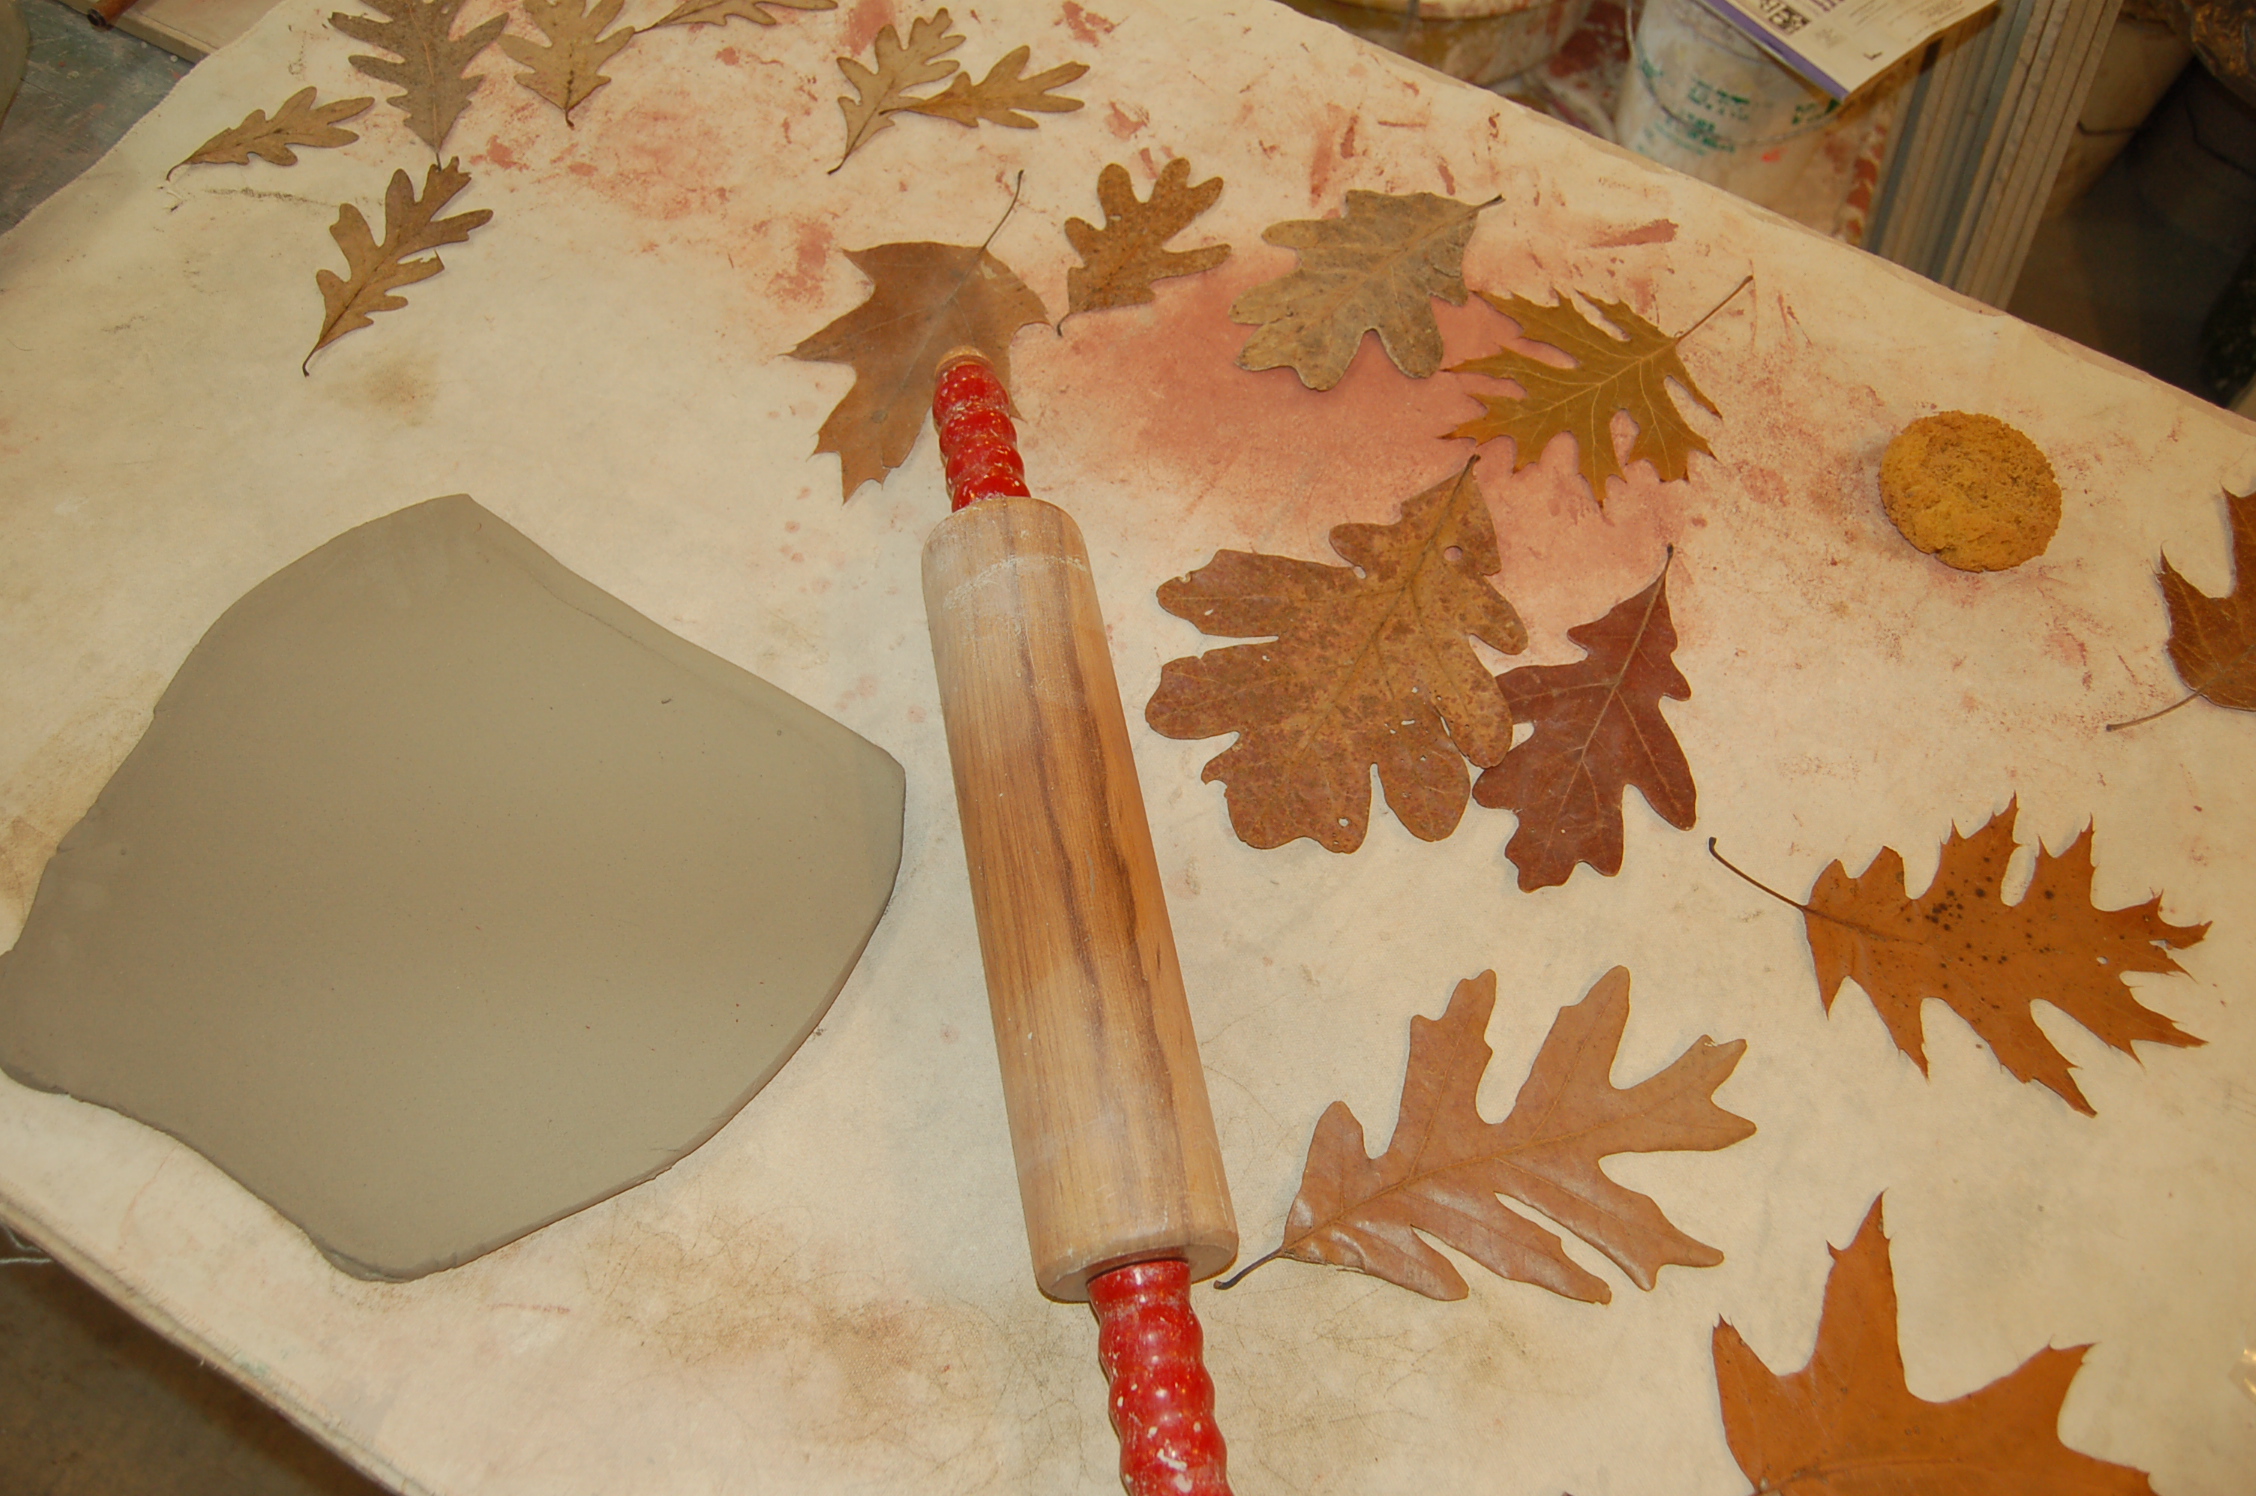
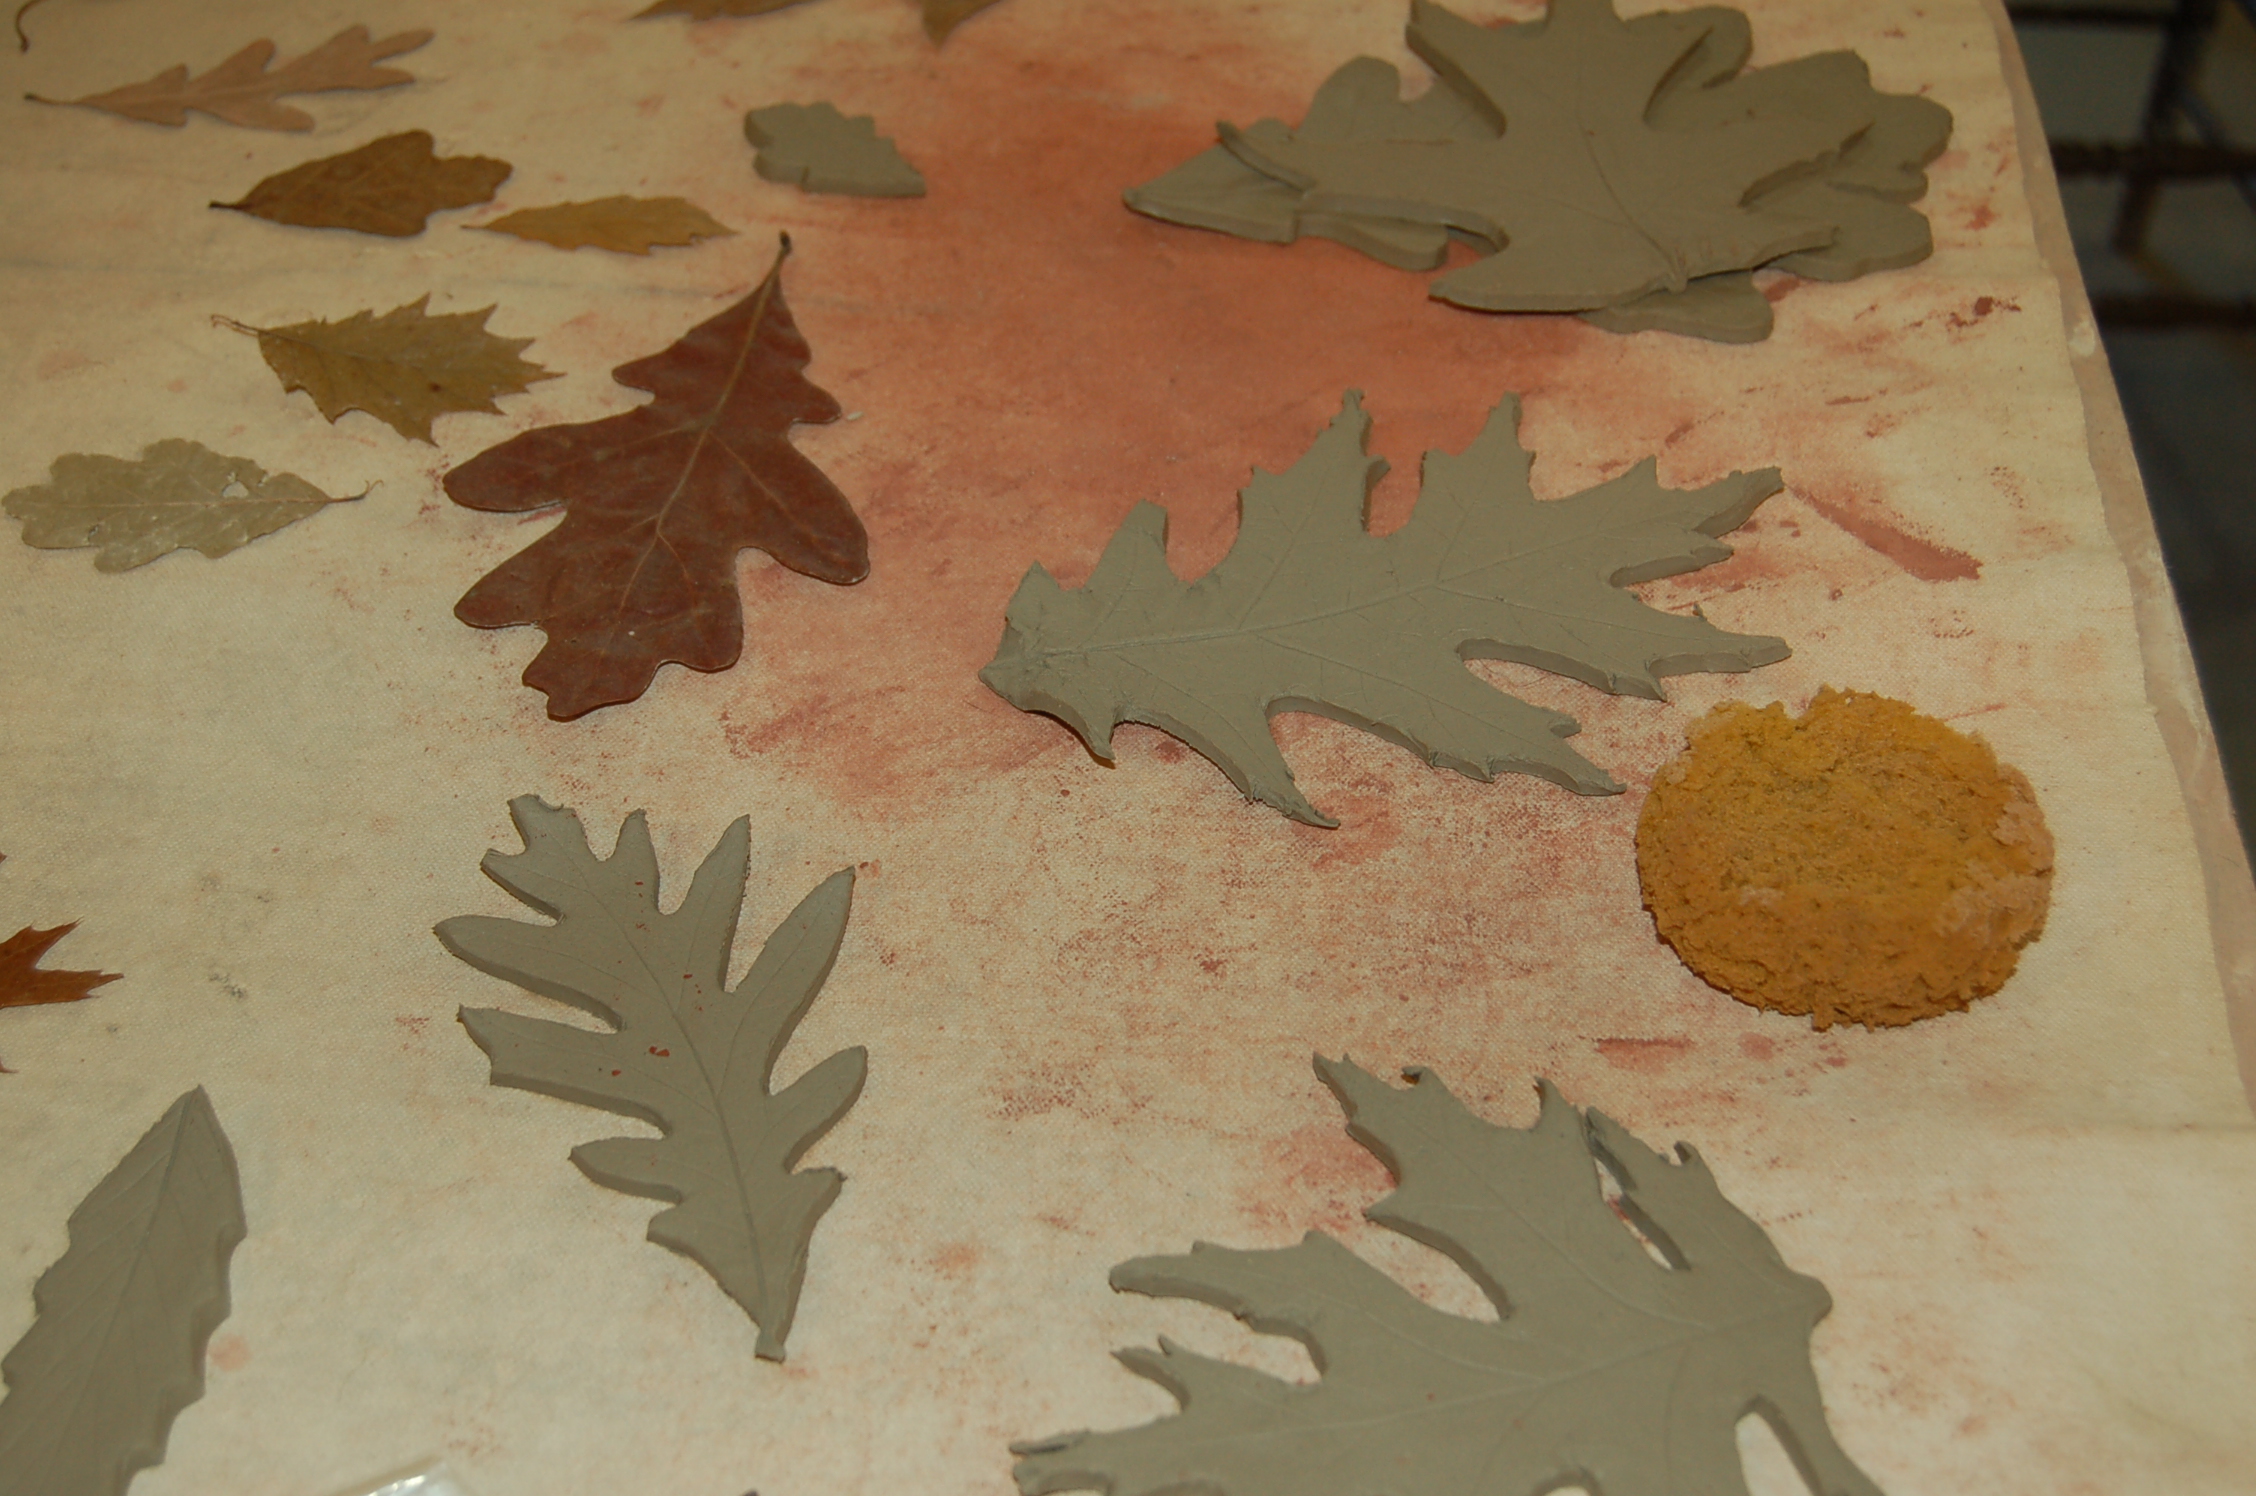
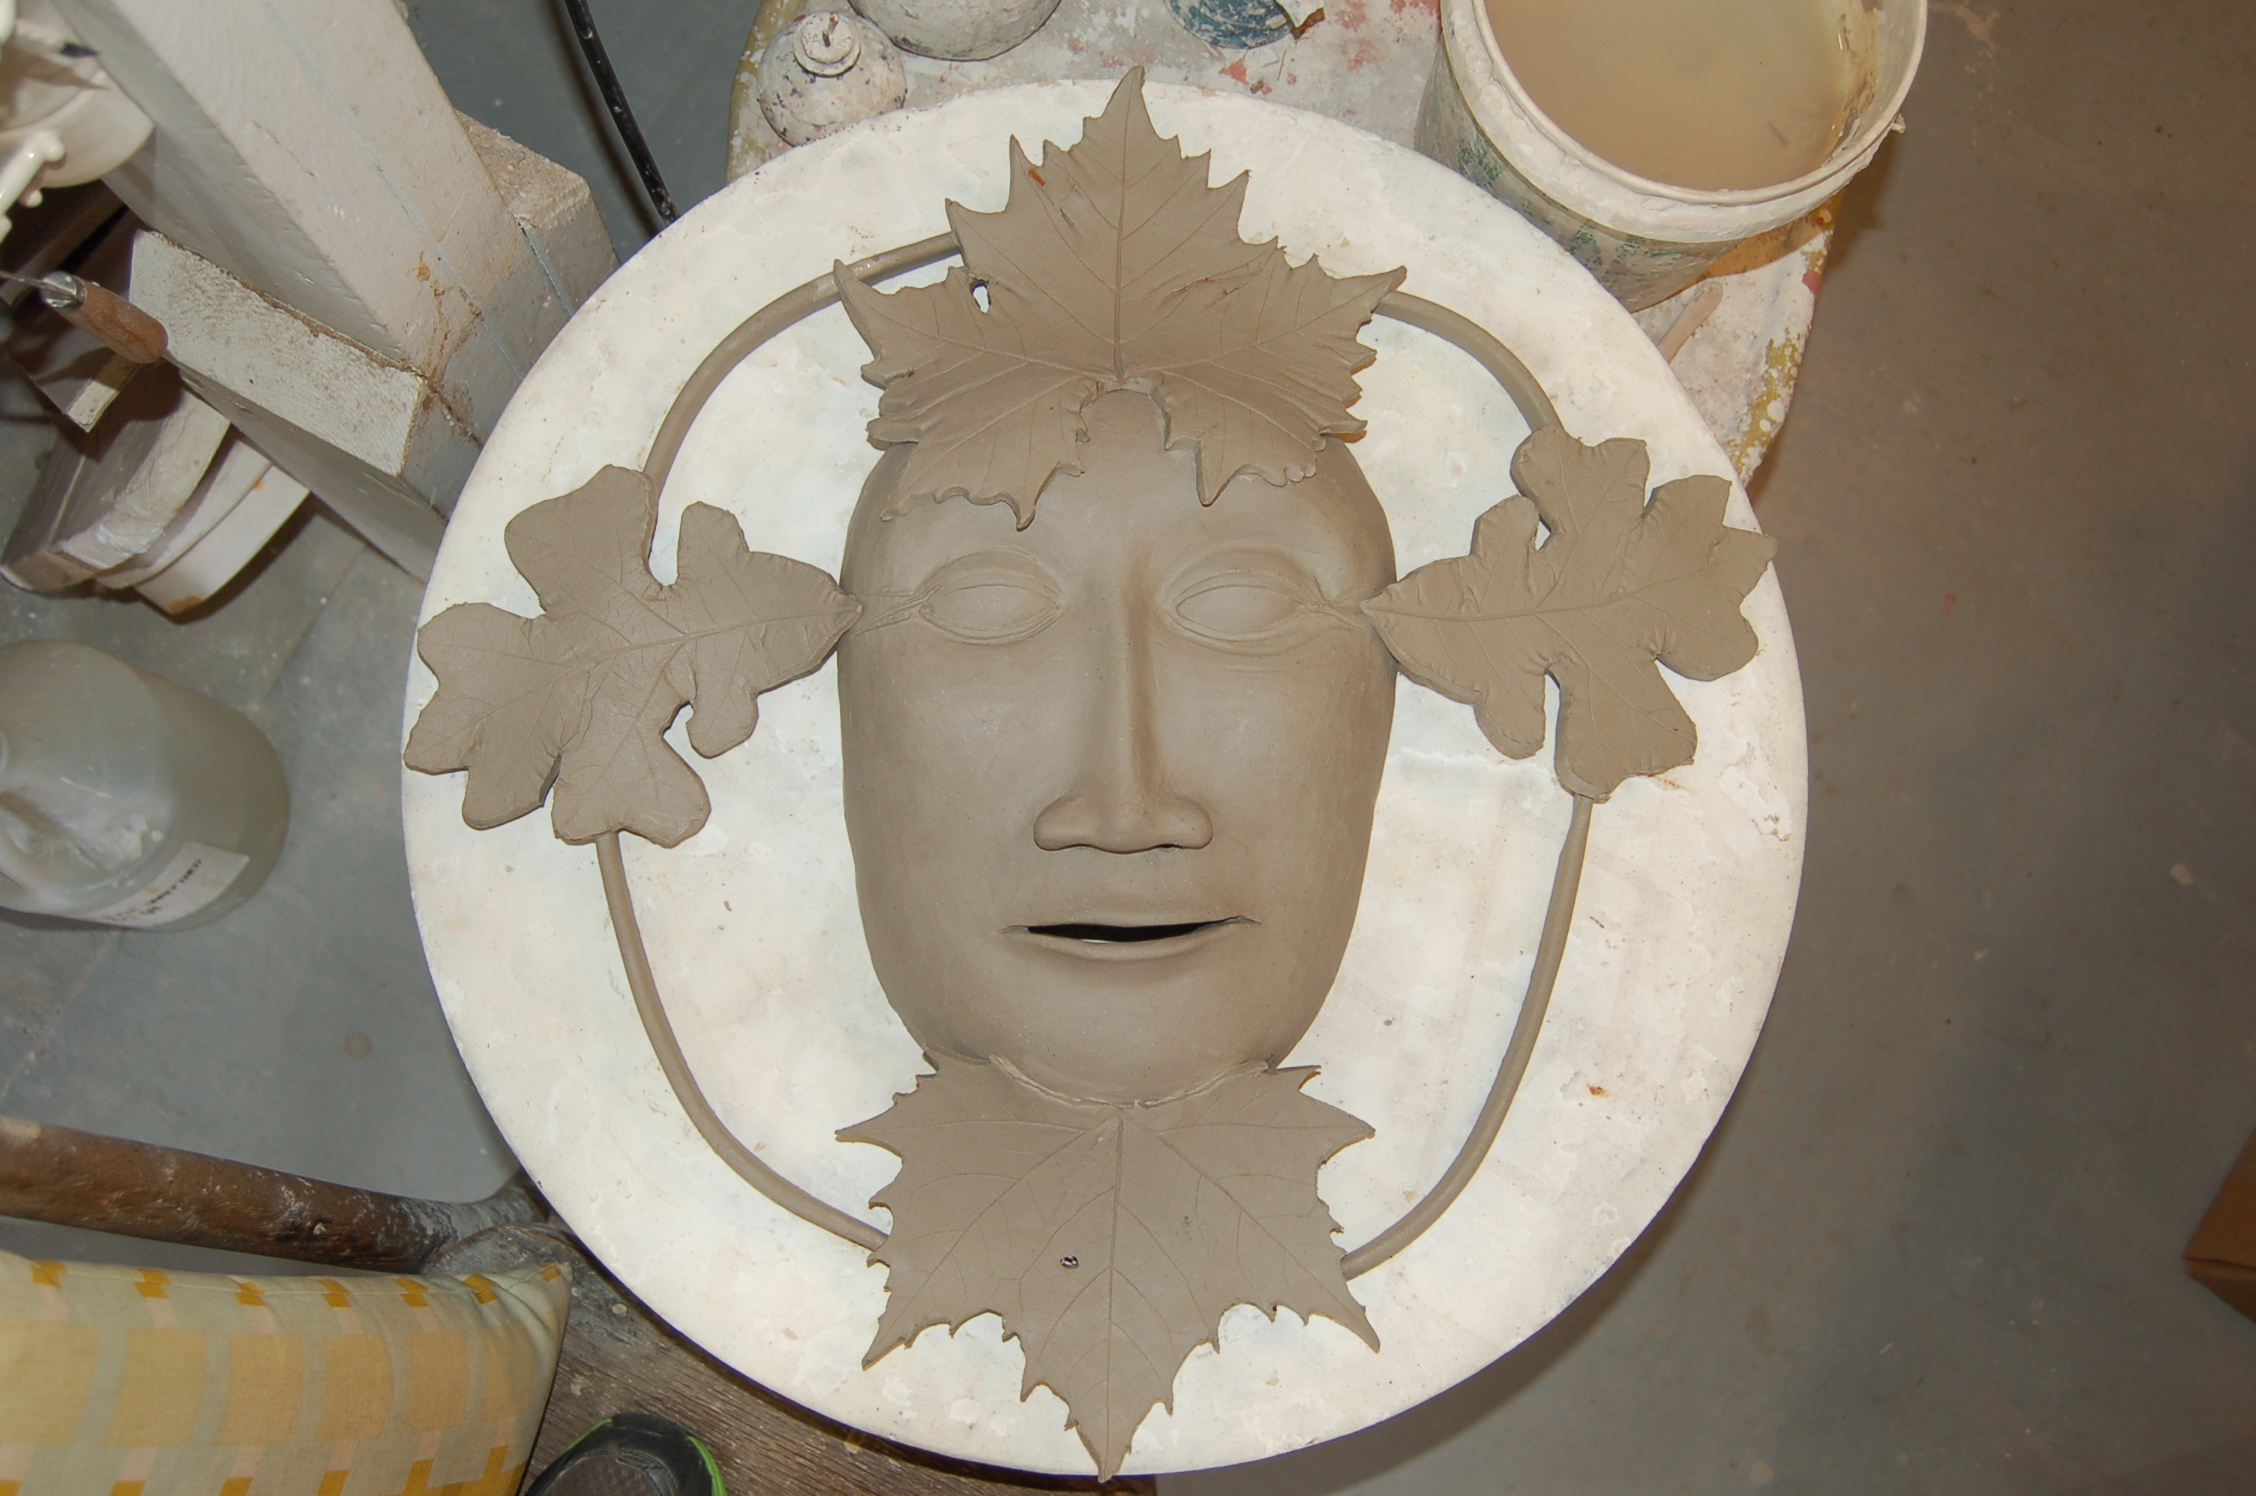
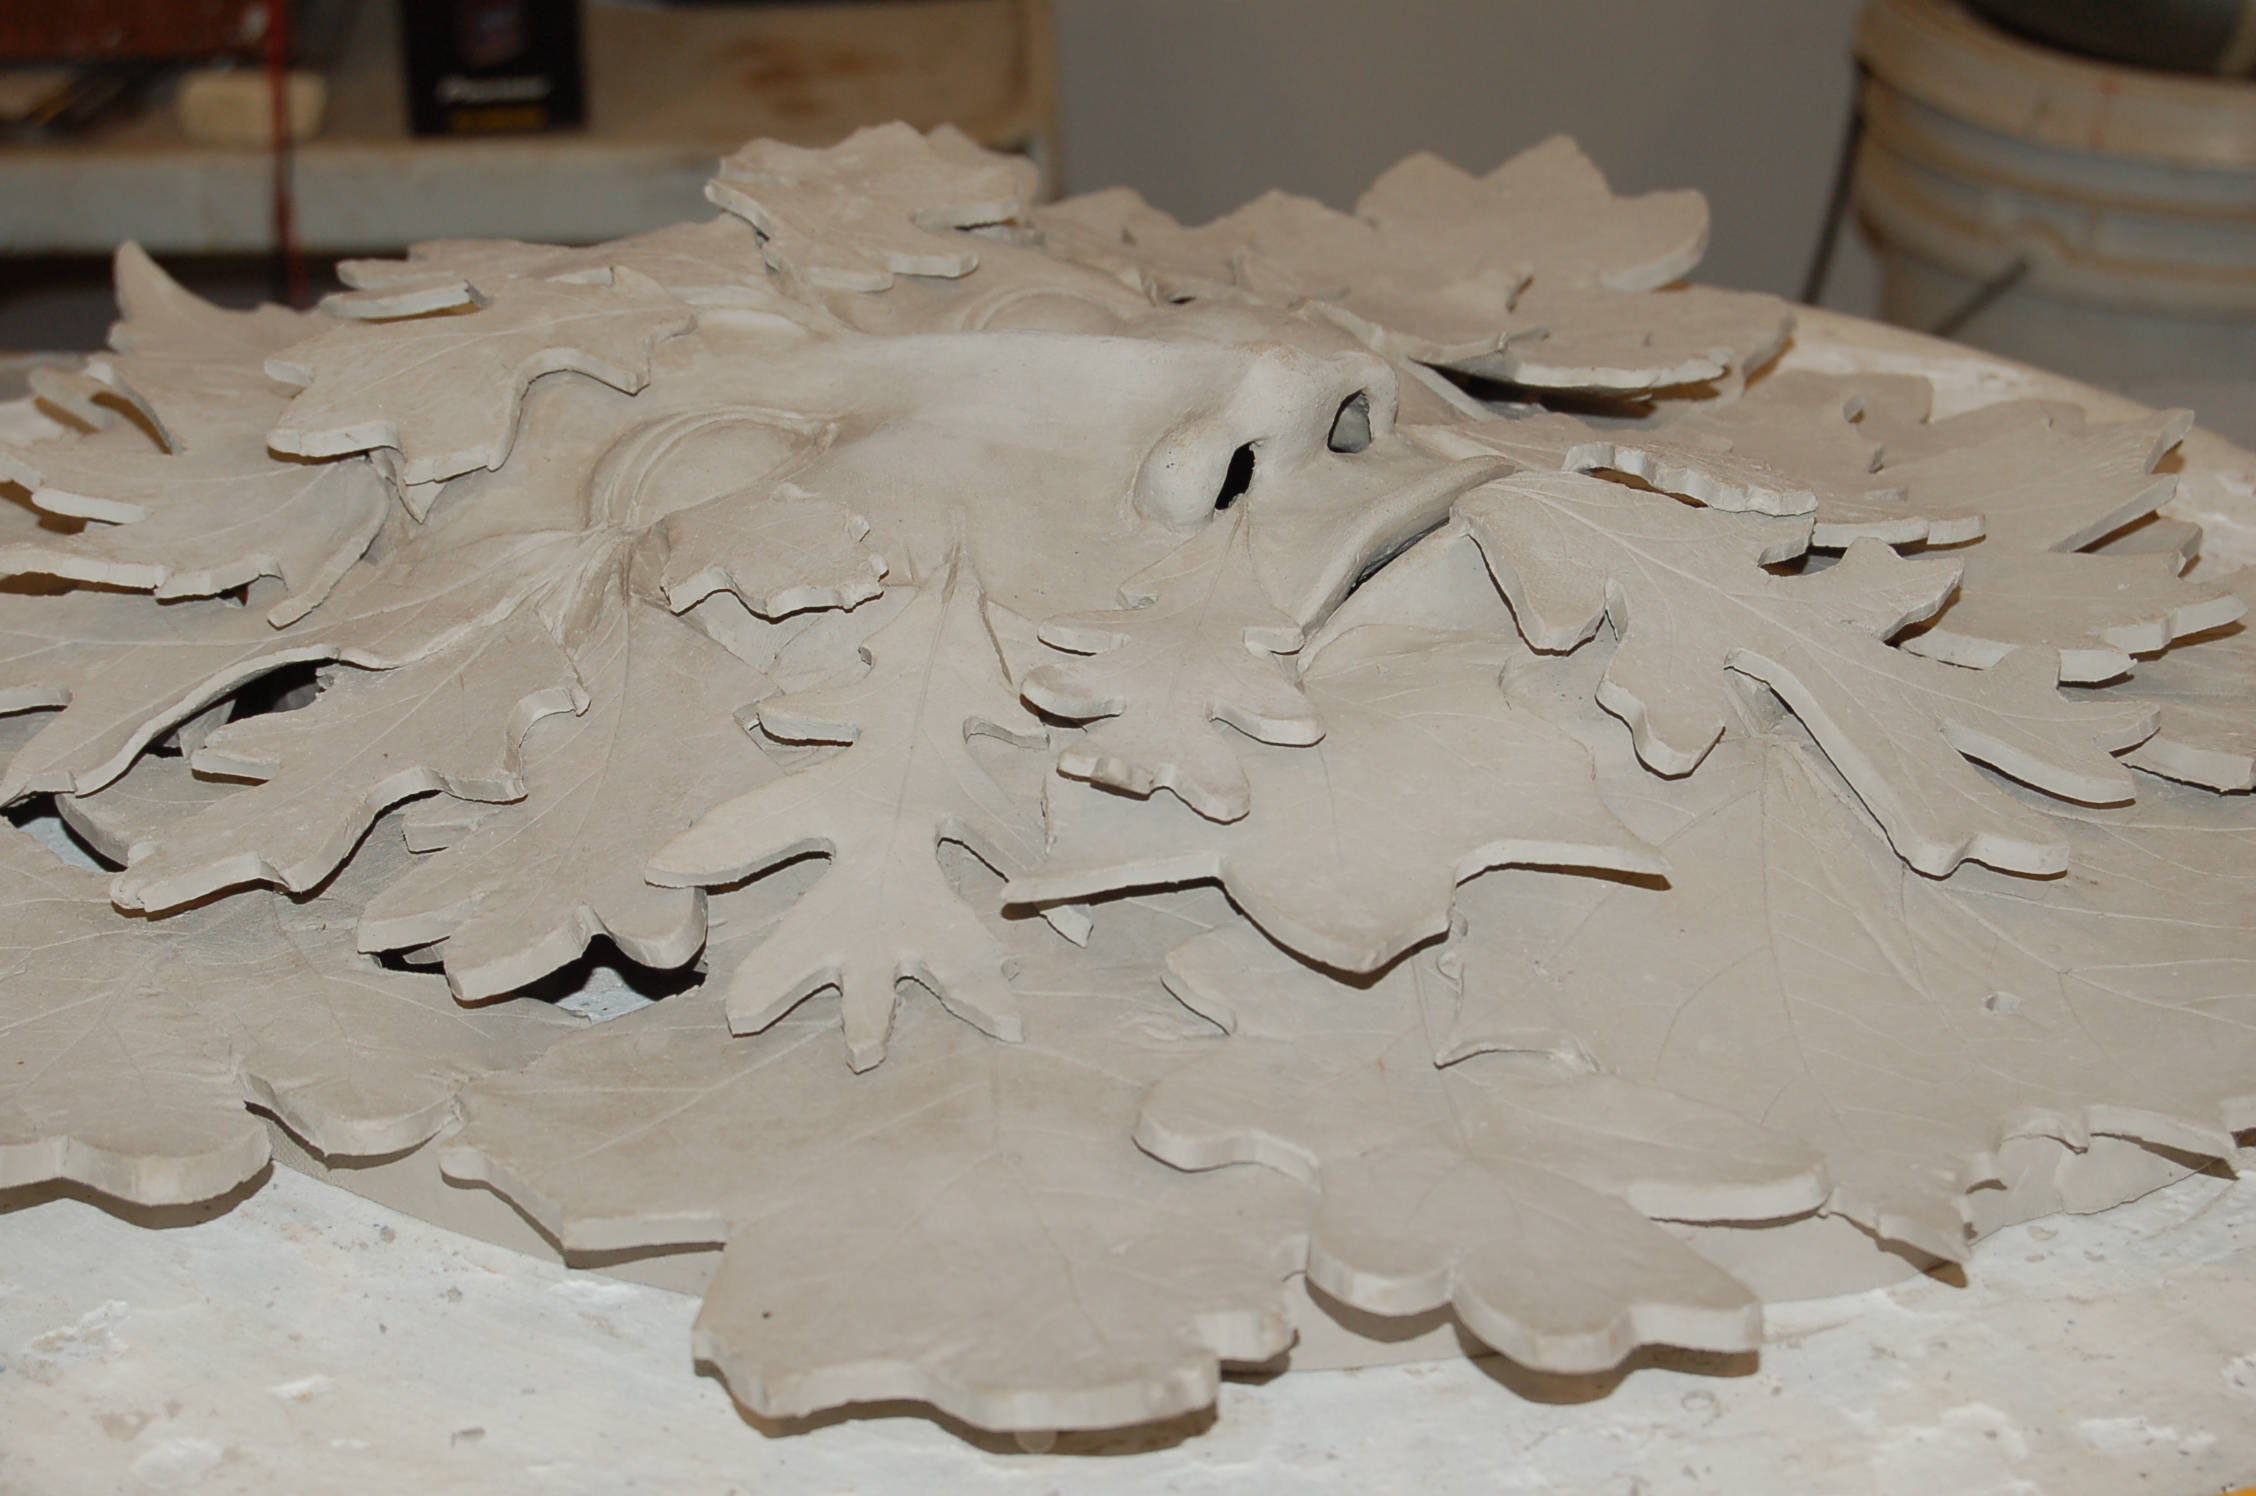
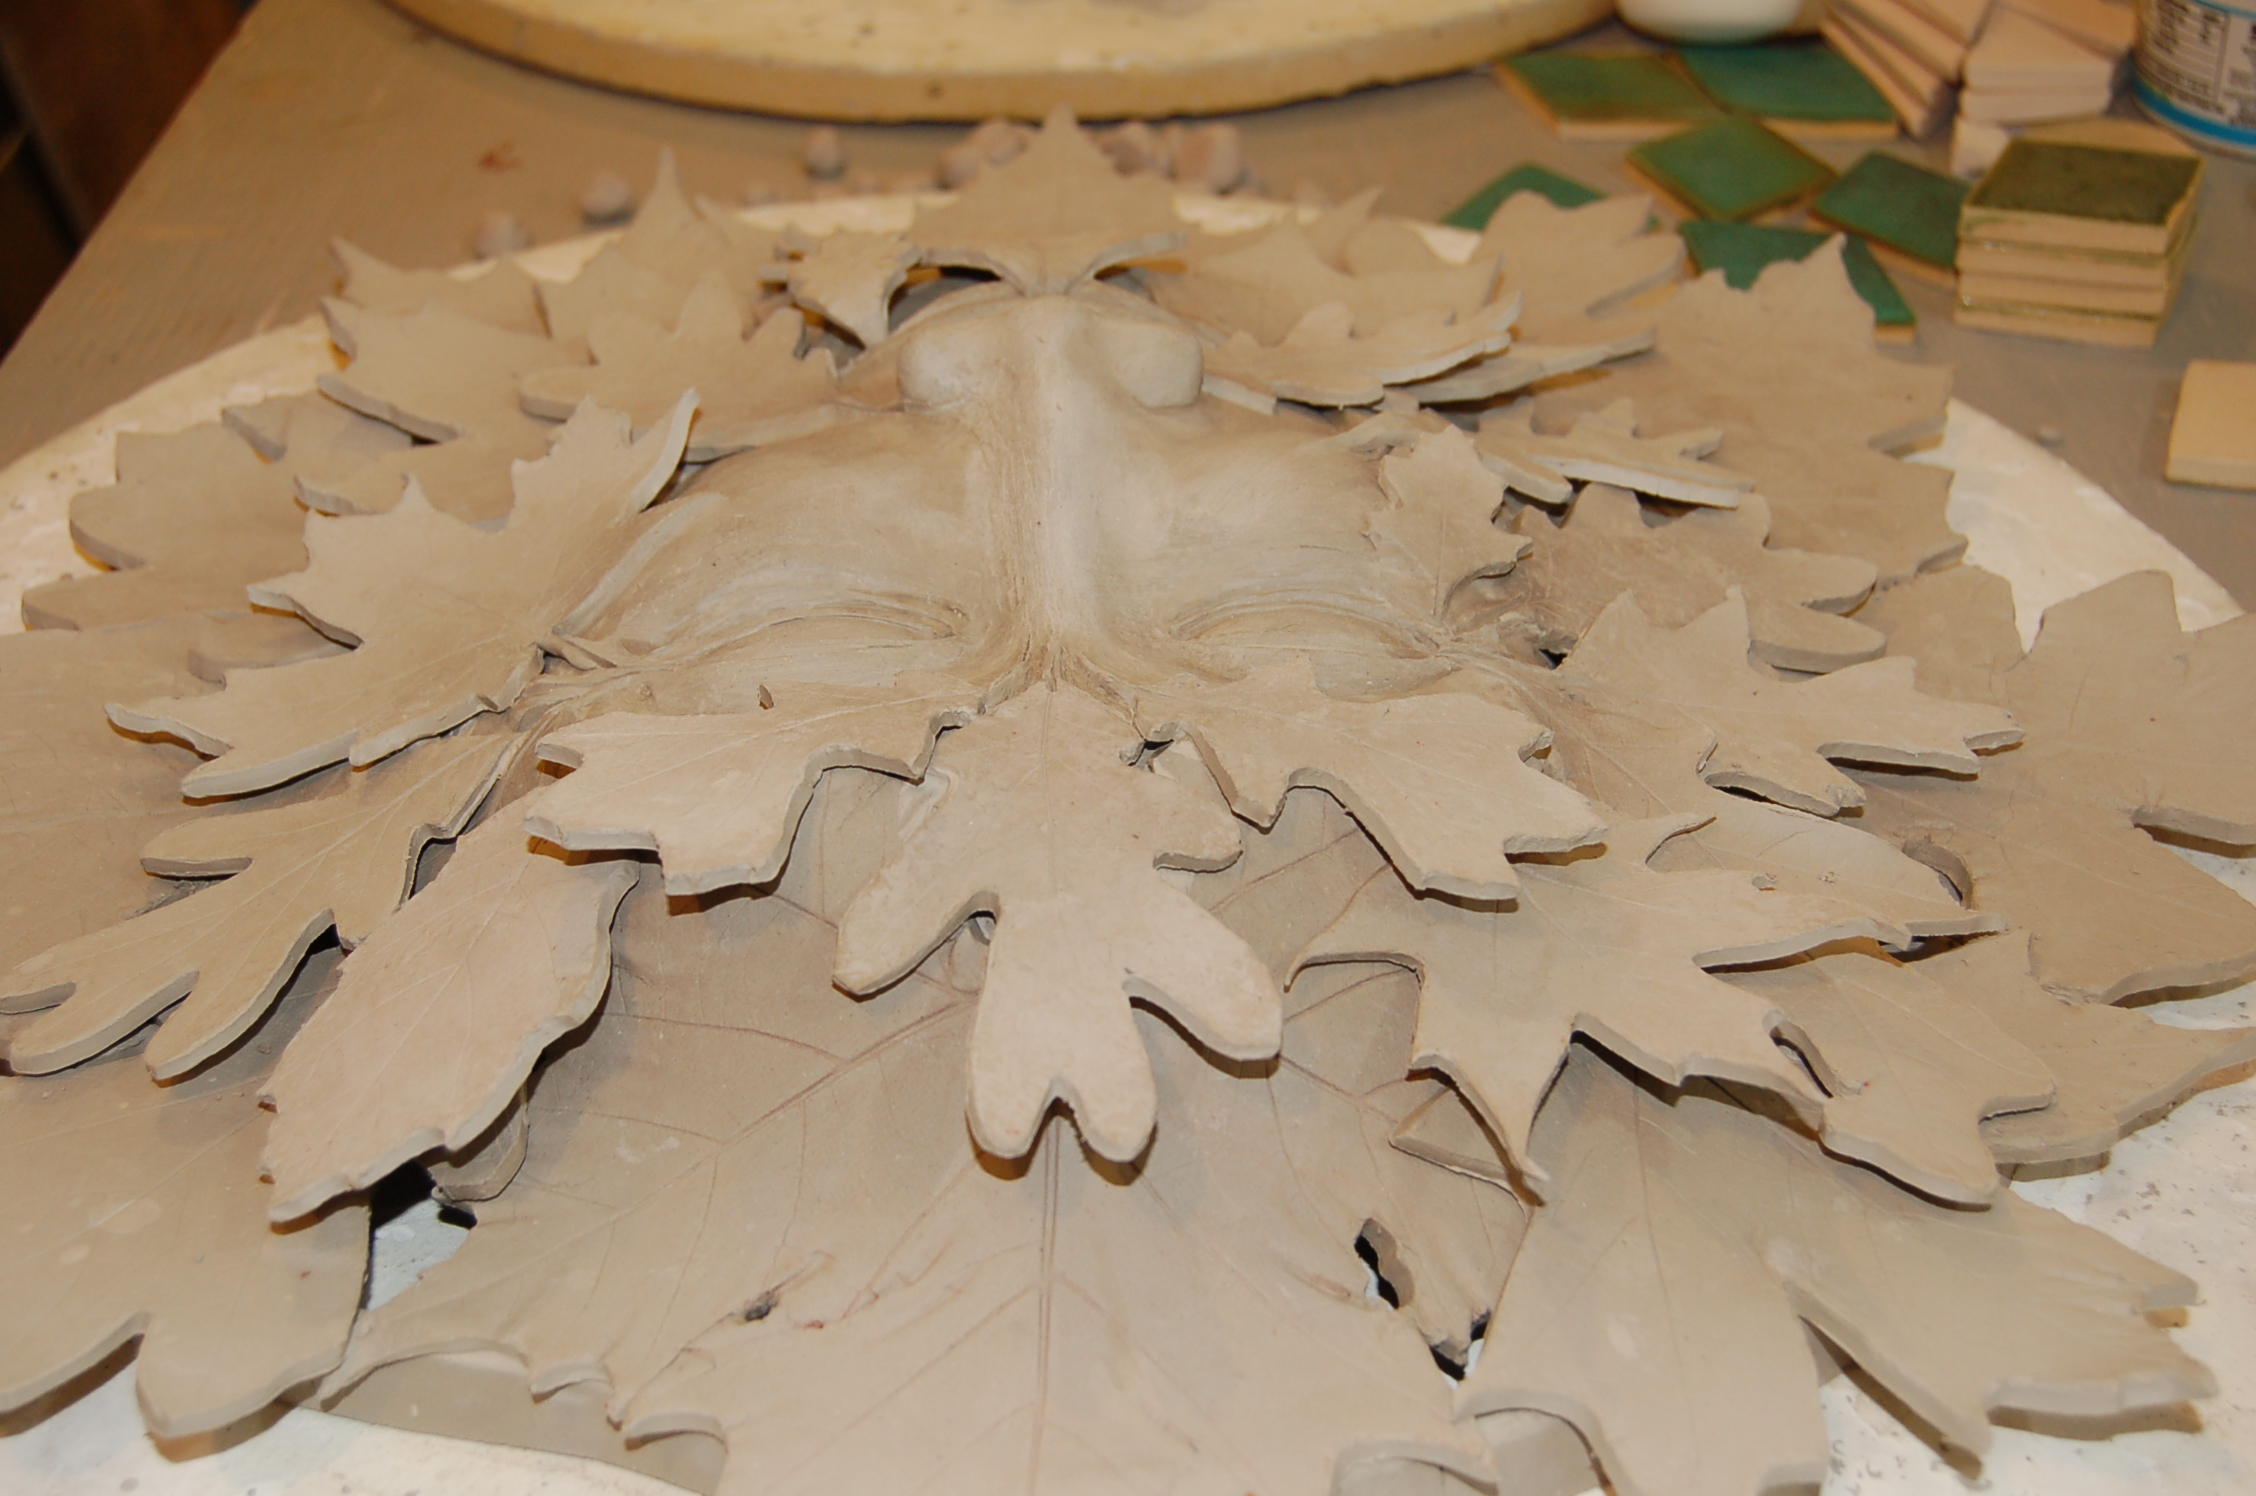
peeking through the curtain


backstage


When I first opened my  online shop one of the first things I did was search for something that I also  make.  For example, a teapot.  Then after scrolling through the first five pages I jumped to page 12,879.  I found photos that were dark, out of focus, and swamped by the fussy background.  In order to eliminate the problem of too dark and fuzzy is to use a tripod.  You can shoot at very slow shutter speeds to allow enough light in without moving during the shot.  Auto focus has been a real help since my eyes aren’t getting any sharper but if you have the option to shoot in different modes you may need to set the focus area.  It’s important to try to focus in a mid point of a 3-D item so the whole item is in focus not just the front on the rim.  Using a small aperture (the bigger the f-stop number the smaller the opening) also creates a bigger “depth of field”.  This means that more of the item, front to back will be in focus as opposed to just a thin front to back slice being in focus.  Of course the smaller the opening, the longer the exposure time to get enough light making a tripod essential.

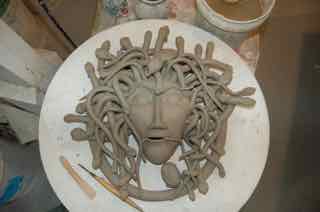
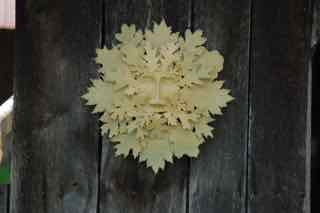
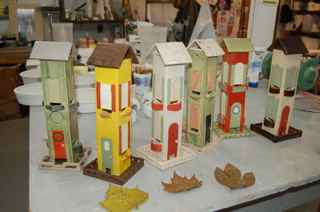
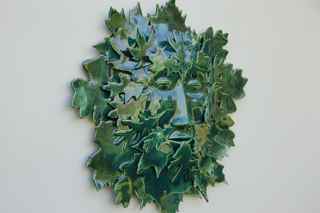
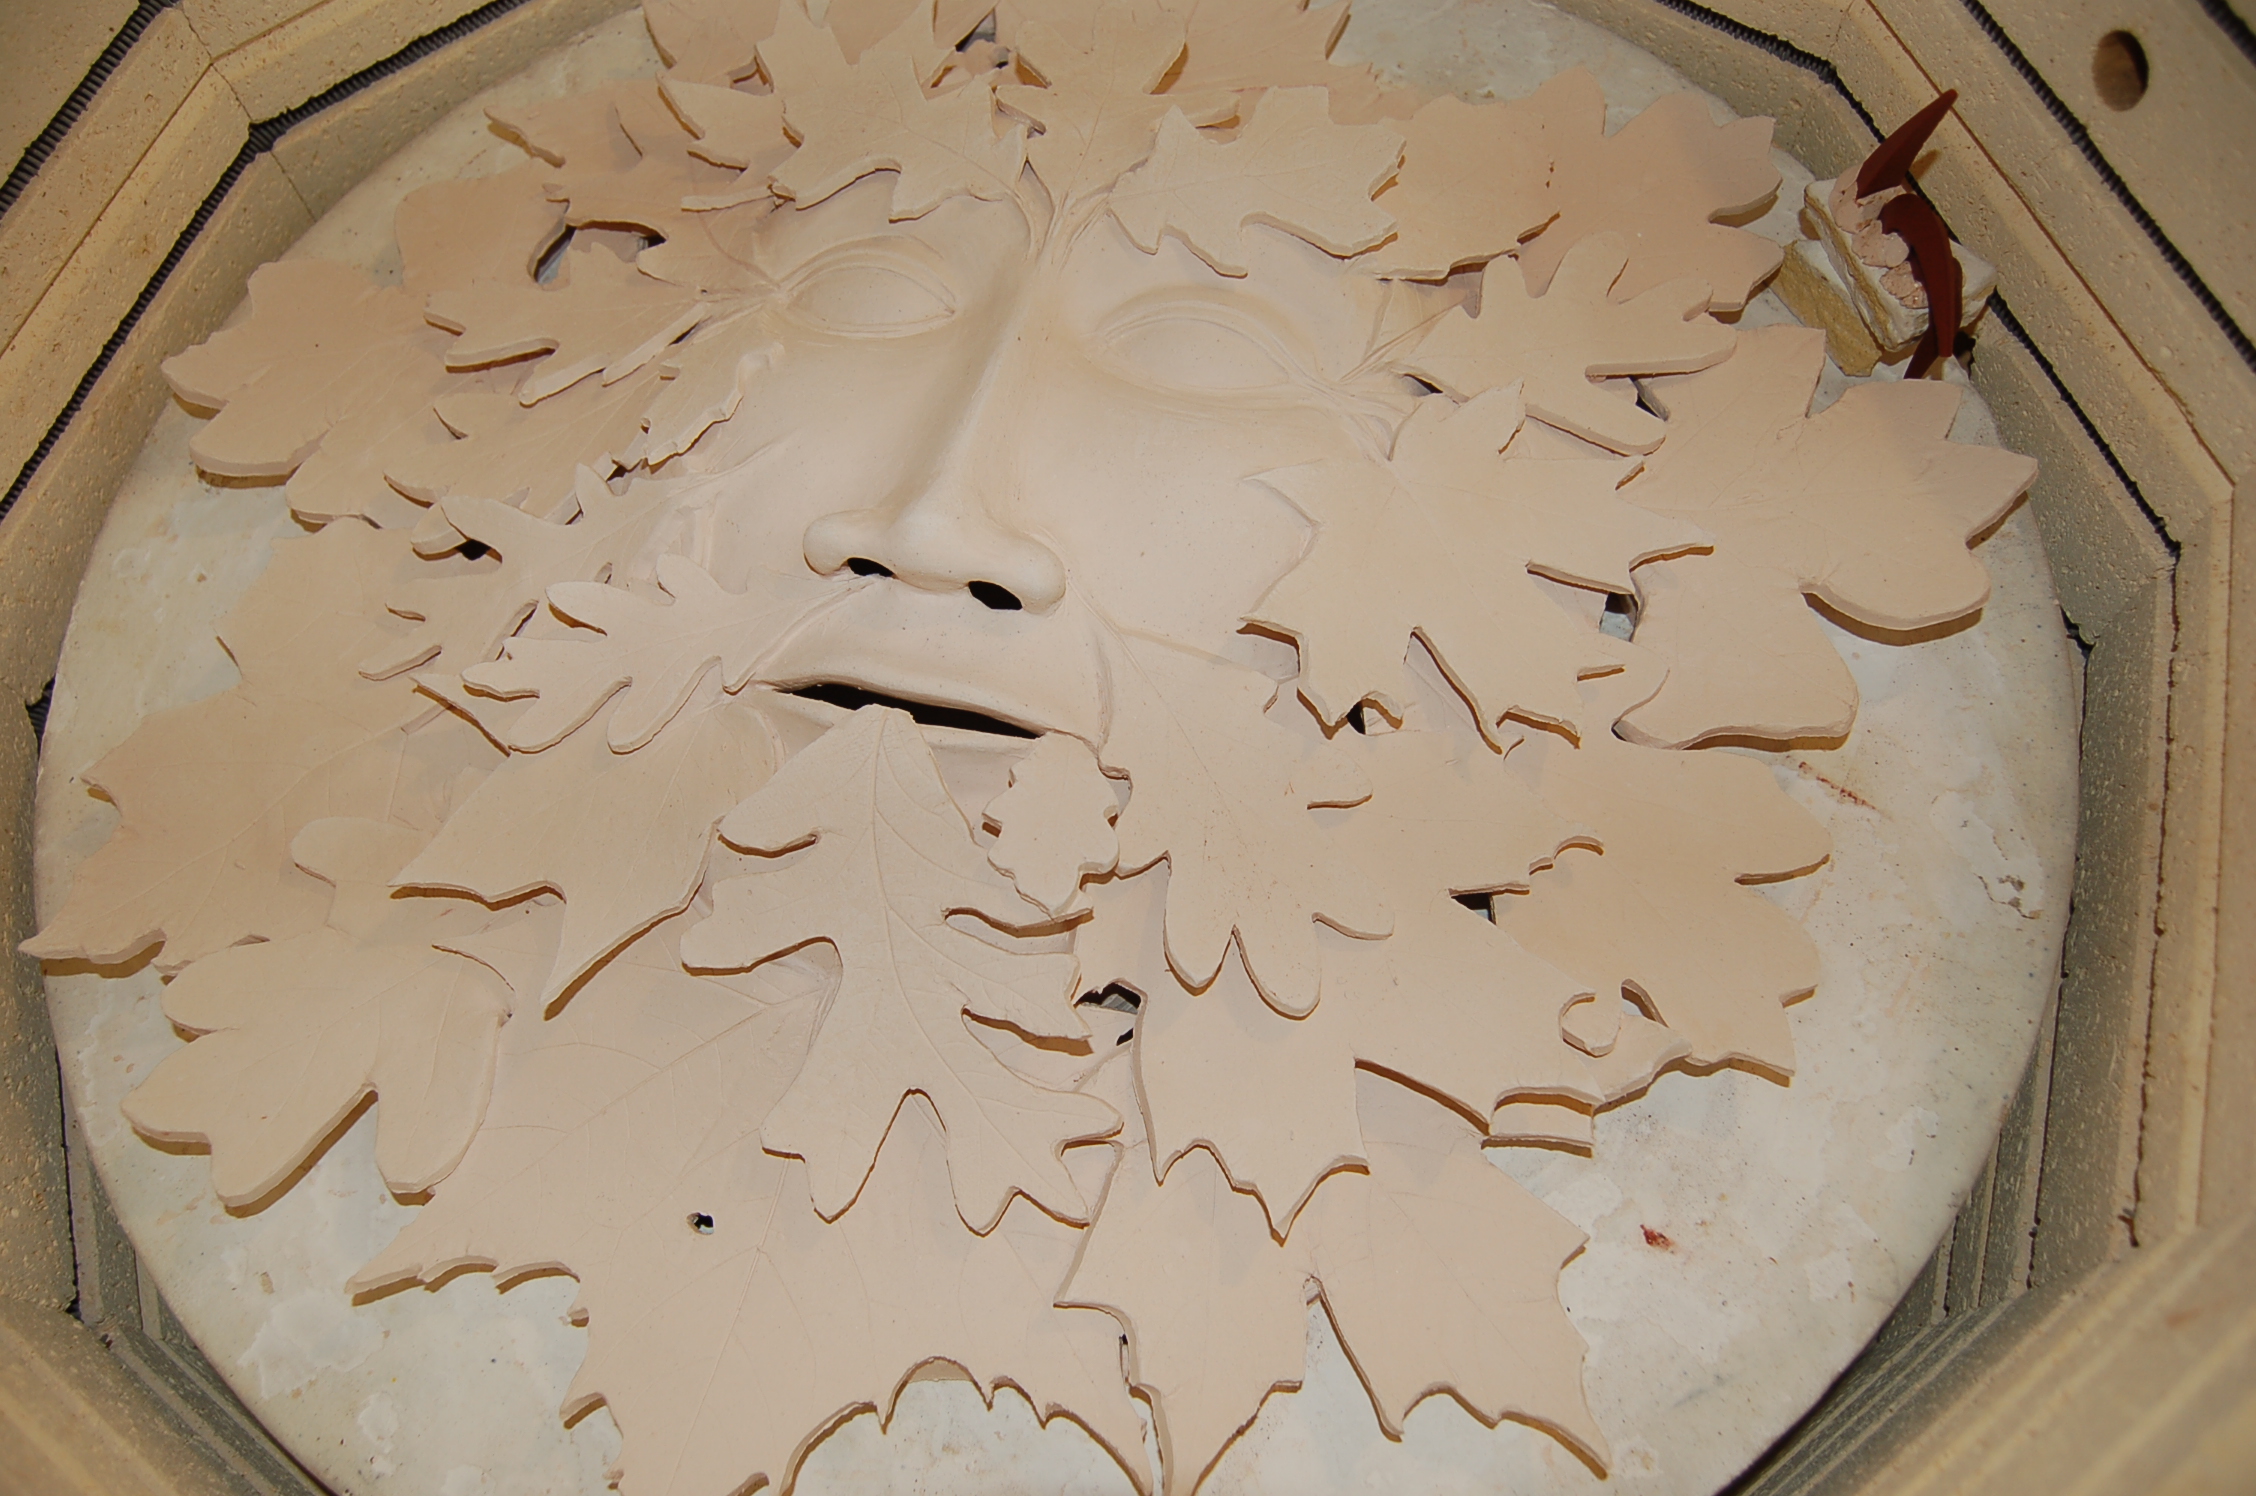
Disclaimer here, I don’t know anything about cell phone photography, smart or otherwise.   I use a digital SLR camera and I learned with film cameras.  I’m sure someone out there has come up with a tiny tripod for phone cameras.  No matter what camera you use, photos are still all about light so let’s start there.  I like to use natural light and I often shoot pictures of my Greenmen outside on the east side of the house in the afternoon shade.  I tack a piece of backdrop onto the wall with a hole at the screws for hanging the piece.

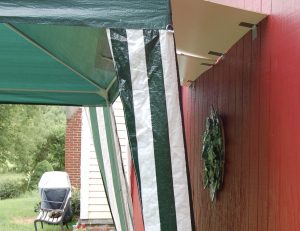
shooting outside, creating my own shade

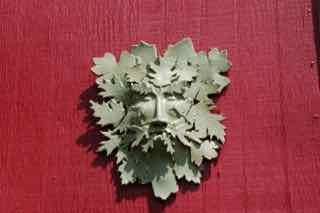
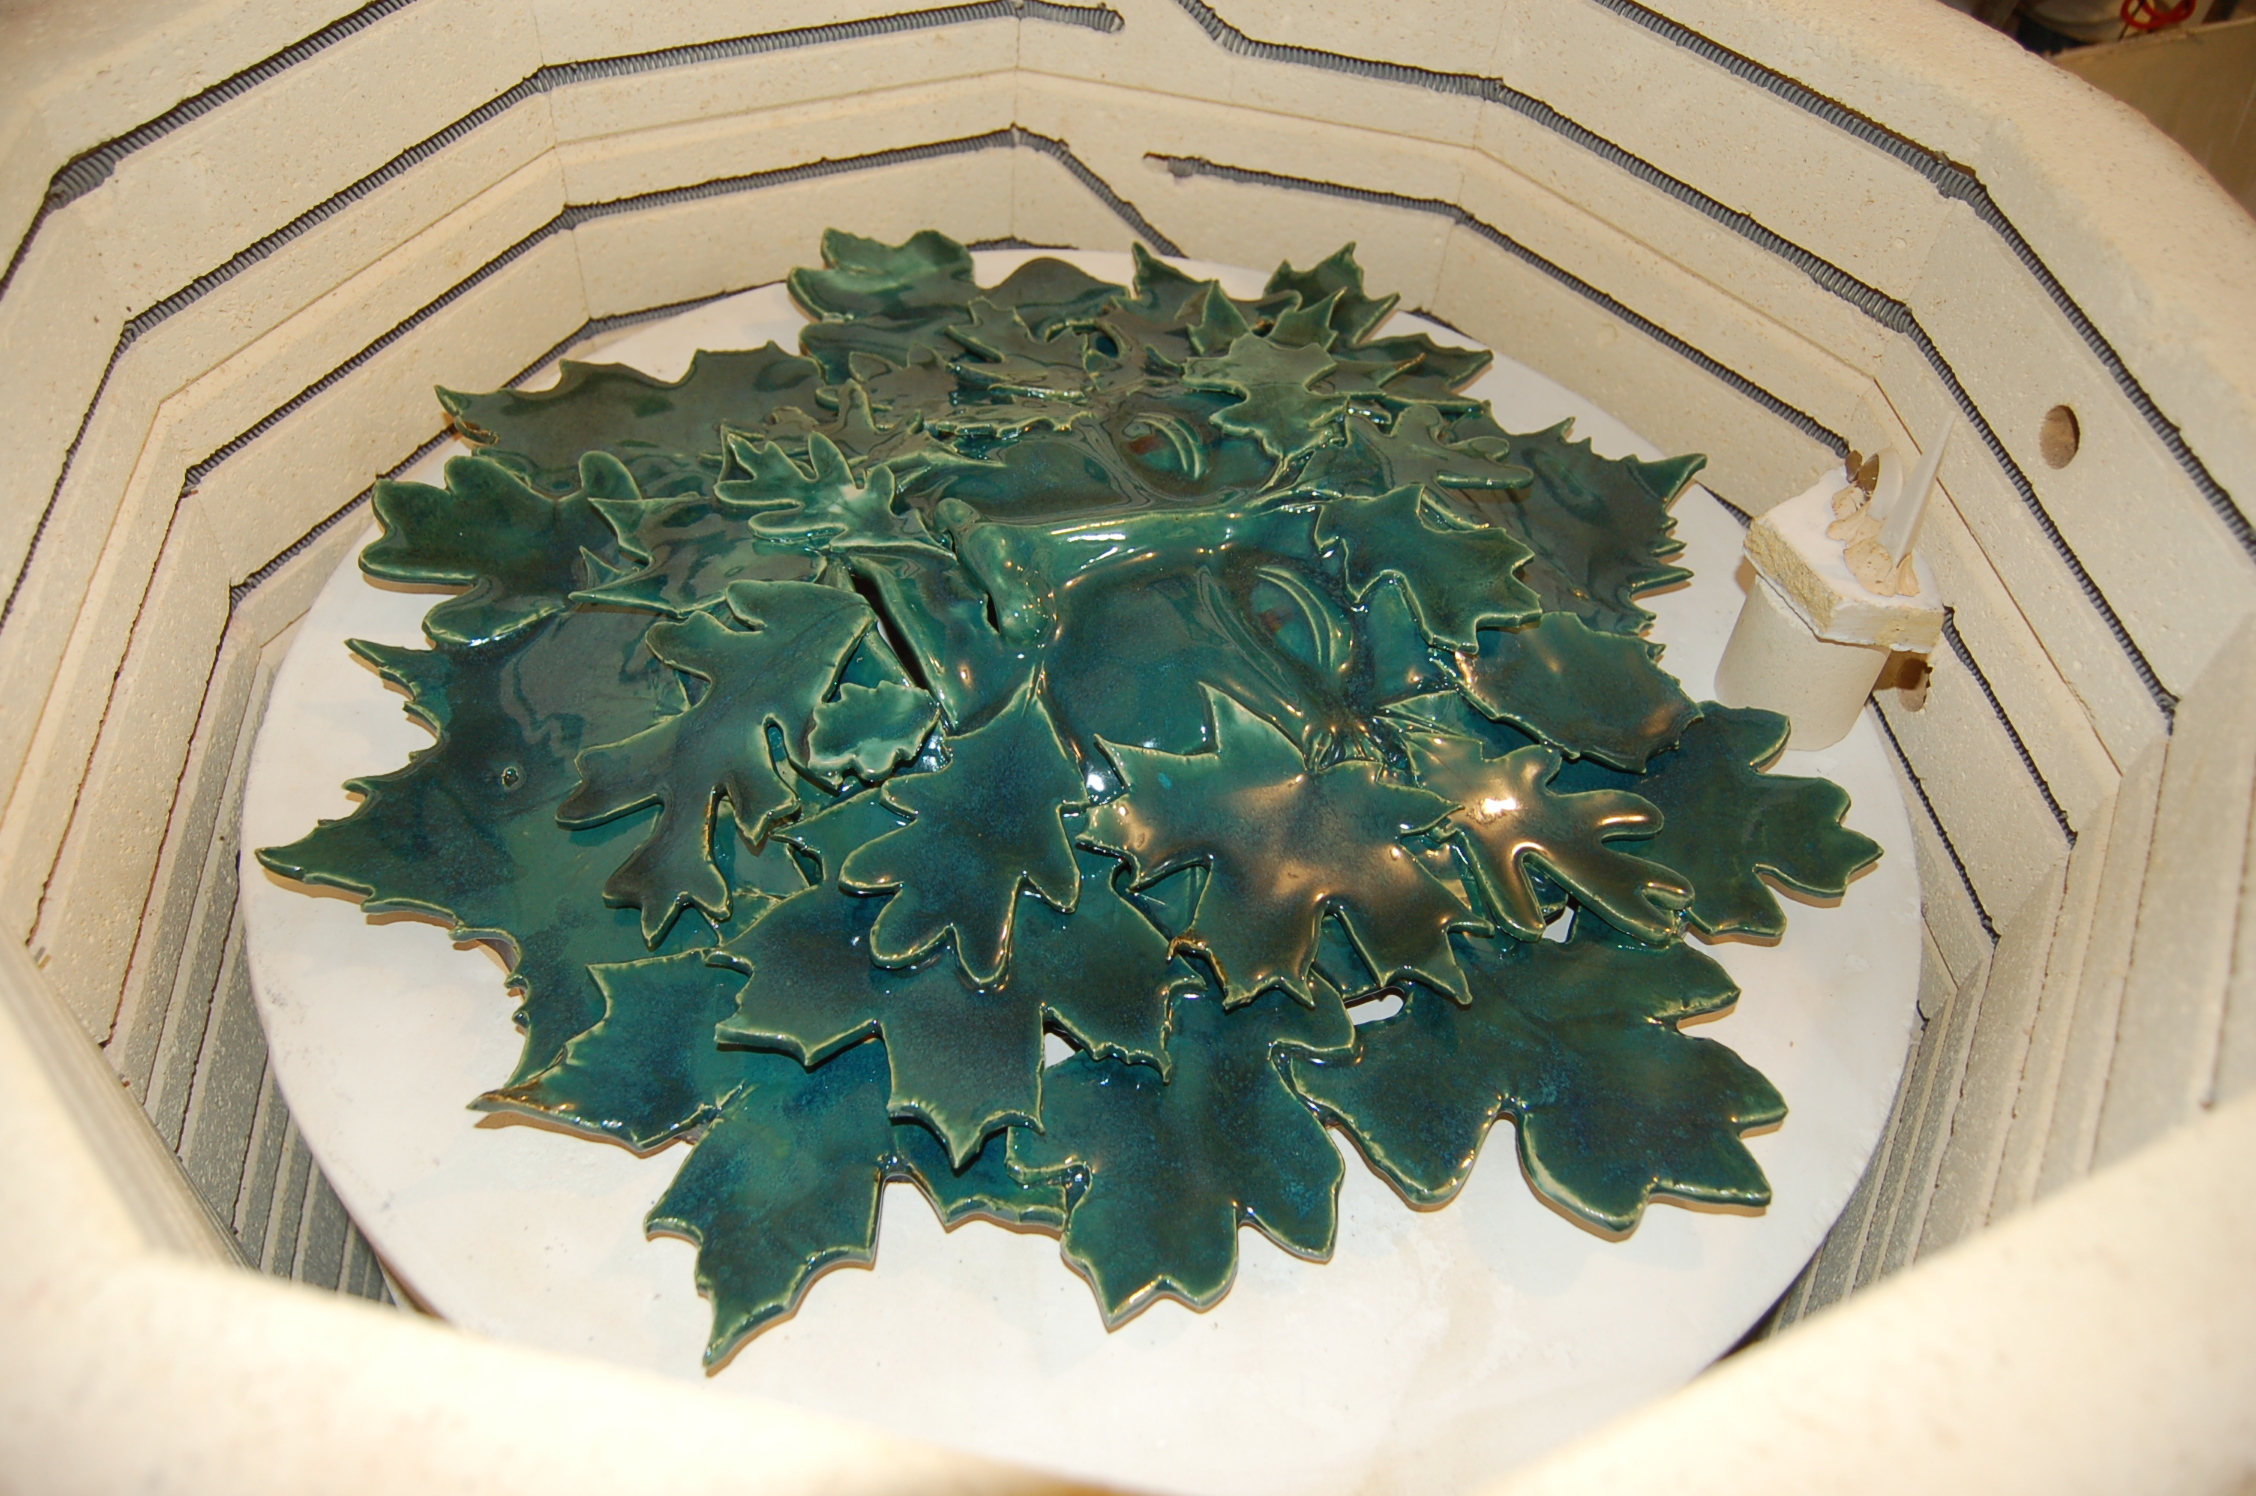
One of the drawbacks of using natural light is conditions are not always optimal.  An overcast day on the shady side of the building is best.  However you can create some overcast by tacking a large piece of semi sheer fabric at the top of the backdrop for the piece and drape it over you and camera to diffuse the sharp reflections that occur on a bright sunny day.  I have also used a canopy with poster board covering the gap to create more shade for my green man photos.  If you look closely you can see the reflections of the trees in the background.

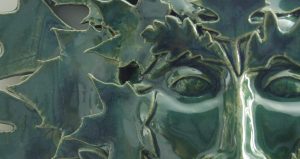
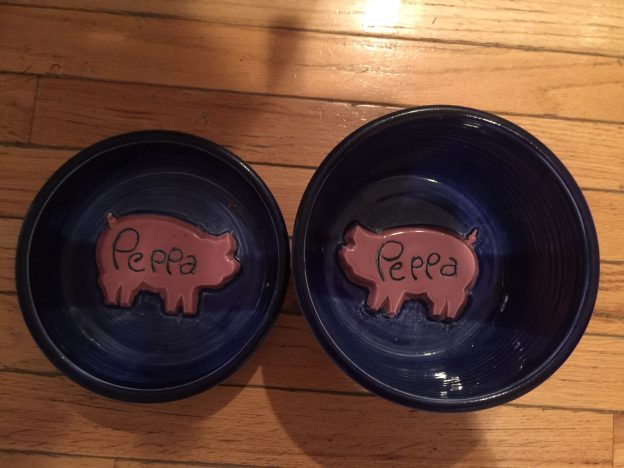
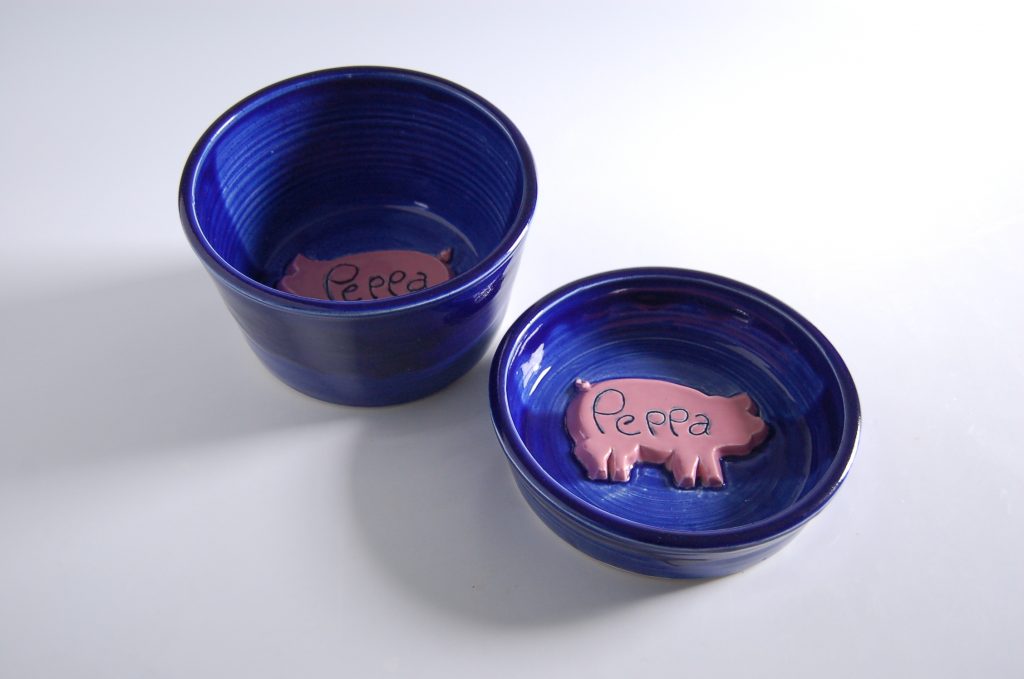
everything reflects in a dark shiny surface


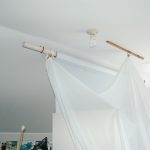
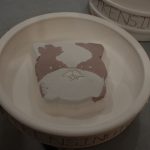
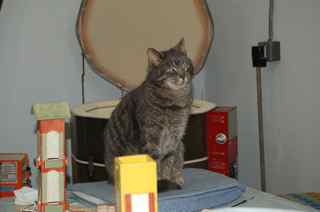
the backdrop is attached to the ceiling on a roller

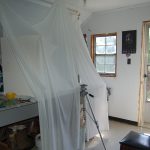
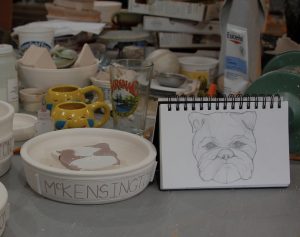
my table with backdrop, curtain and tripod

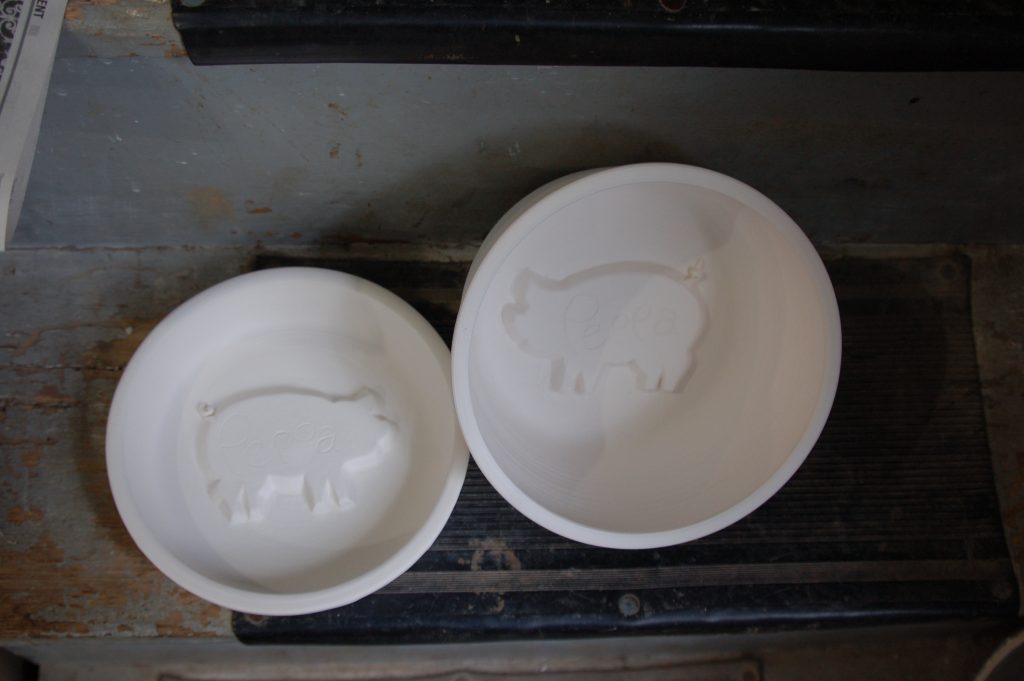
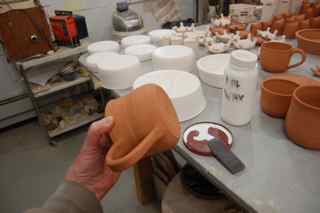
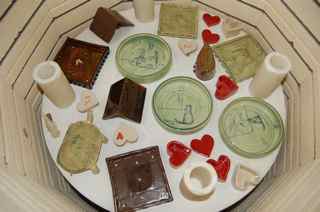
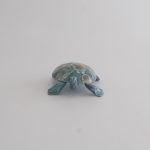
Most of my items are smaller than the Greenmen and I shoot these on my table with a translucent white backdrop that is hanging from the ceiling and can be rolled up when not in use. I also hang some sheer white fabric in front of the table to give a uniform look to the highlights, eliminate reflections and bounce more light on the subject.

The light comes from a west window so I shoot before the sun gets too low. I can also open a door if the light is dim , for example on a rainy day. I also use a piece of white poster board on the dark side to bounce more light back onto the shadows. A few highlights and a gentle shadow are fine and help show the dimensions of the piece. If you don’t have a window handy a lamp will do. You may have to try different white balance options to find the one that gives the truest color balance.

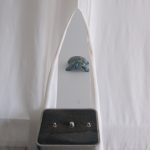
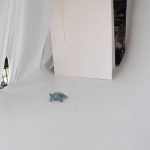
If the item has a shiny dark surface using a piece of black fabric or paper in front of the item will eliminate reflections of every item in the room.  Cut a hole or a long vertical slit for the camera lens to peek through.

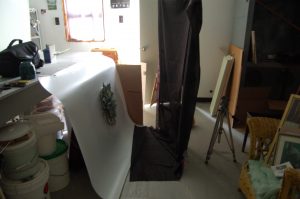
Greenman on a white background with a black cloth hanging in front to eliminate reflections

I’m able to make any adjustments needed using the photo app that came with my computer, color balance and exposure are the most used along with cropping, fill up that screen.  Think of your photograph as another work of art and really look at it.  Keep notes and keep trying, you’ll get better.


Custom Dog Bowls (a tale of two tails)

waiting patiently for my new bowls, my person is GREAT!!

Peppa Jane waiting patiently for new bowls, my person is GREAT!!

I have always been open to making custom orders, I prefer them to be in my ballpark but if the idea intrigues me and I have the time, well I’m a sucker for a challenge, and it’s a perfect excuse to try something new.  Experimentation being the soul of creativity.

I recently received two commission orders for matching dog food and water bowls, so I documented the process for both.  Each order was unique, as is each dog.  As I put this post together I realize I didn’t take any pictures of the forming process.  I will update with pics of my next 3-D dog dish……. but meanwhile

One customer wanted an extreme slow food dish with the raised center to be an English Bulldog face and his name on the outside, “McKensington”.  I asked for pictures because if you’re doing a face you may as well be specific with the markings.  I thought he would be older…


I was completely smitten when I saw the pictures of little McKensington and I was determined to make him a bowl he could grow into.  My first task was to draw a face.  I did this by looking at clip art and photos of English Bulldogs and making a drawing that would fit into the proposed bowl.  After making my drawing in my sketchbook to size, I traced it onto another sheet of paper that I cut out and cut along some of the lines in the face.  I also needed a name for both the food and water bowl so I made a template with cutouts.

Photo on 6-15-16 at 1.44 PM

After throwing the bowl, I used the paper face to cut it out of the bottom of the bowl.  When cutting I always angle the cut so the piece will drop out of the bottom and sit inside overlapping along the edges.  I attached the cut out face onto the bottom of the bowl by scoring and slipping the two pieces together being careful to retain all of the detail.  I then used the paper to add the lines and markings on the face.  All of this was done on soft clay, after the bisque firing the lines were “set in stone”.

DSC_0861

glazing the face and looking at the drawing with markings


DSC_0862


At the last minute, I did a modicum of research, little pink noses usually turn into black noses.  A quick e-mail confirmed, “Yes please go black”.

That's right I made two, got a dog named McKensington?

That’s right I made two, got a dog named McKensington?

The glazing process included several “Stroke and Coat” glazes from Mayco.  When I  do my detail work, the lines that I carved into the face allow me to contain colors.  I then wax the glazed parts and dip into an overall glaze.  In this case the over all glaze was to be “Sea Green Pearl” from Columbus Clay Co.  http://www.columbusclay.com/

DSC_0930


the water bowl only had a name, solid green inside

the water bowl only had a name, solid green inside

The second custom dog food and water bowl order was for little Peppa Jane, she’s a little older than McKensington but just as cute!!


peppa jane

Oh so adorable Peppa Jane,  this is the bowl that inspired this custom order.  I was requested to add the name Peppa onto the pig in a food and water bowl.

DSC_0412

I made the bowls much like the ones before but the pig is only slightly raised, a medium slow feeder.  I made the pigs so they could face each other, or not.

bisque fired food and water

bisque fired food and water

I was halfway through the process when I realized that I didn’t have enough of the old brown glaze to cover two bowls.  I usually use brown glazes for accents on my Greenmen and Twig Teapots and don’t keep a large bucketful, so I bought more of the glaze and did some tests.  It didn’t go well as they had changed the formula.  After much fretting I asked the customer if she’d be happy with another background color.  She liked blue, blue is grand, I had more than one to choose from and we settled on the cobalt blue.  The pig is glazed with Stroke & Coat “Cheeky Pinky” the name Peppa was carved and filled in with Stroke & Coat “Bluebeard”.  This was covered with wax and the rest of the bowls were dipped into my big bucket of “Ultramarine” blue from Columbus Clay.

DSC_0936

DSC_0943


The tail is a 3-D curl of clay with gobs of glaze to keep it easy to clean.  I hope to update this post with pictures of the bowls “in action”.  You can see where the two dips into the blue glaze overlapped to create a wide dark blue line.  I position my dip to make this overlap make sense in the overall design ie a horizon line.


Don’t count your chickens…

Well I was planning to write this post as My New Medusa, but the kiln goddess decided to take me down a peg.  After many years of experience and many hard learned lessons I apparently needed a refresher course in the perils of firing damp pottery, the importance of providing air holes to places that need them and taking the time that is needed to dry out an item that took two weeks to make.DSC_7893DSC_7892

Indeed my outdoor walls are festooned with Green Men that died in the glaze kiln.  I like to think those aren’t my fault but seriously, is there any one else  in the room? perhaps the cat sleeping under the chair?  Perhaps.DSC_8153DSC_8151

DSC_8152

However blowing a piece up in a bisque fire is ALWAYS a function of water inside the piece that is trapped when the outer skin is dryer and the resulting steam can’t escape.  But it does escape in a most spectacular way.

DSC_7912


DSC_7908


In my defense it rained for about two weeks straight.  I’m kind of surprised more things didn’t blow!

Scarred Woman

Scarred Woman

Glazing Pottery

Glazing is one of the most nerve wracking and at the same time the most satisfying aspect of making pottery.  The transformation from a dull dusty finish to the shiny colors of finished pieces is nothing short of amazing.   Before we glaze the pottery must be bisque fired.  This turns the clay to stone and allows easier handling and better absorption of the glaze into the pores of the ware.  It’s important to glaze soon after the bisque fire to avoid a build up of dust and grease that can inhibit the glaze from staying put during the next firing.Photo 33In the bisque fire the green ware can be stacked and stuffed in pretty tightly.  I put enough items in this bisque fire to do two glaze firings.fired bisquewareAfter the firing everything is unstacked and laid out on the table.  I use a white and a dark brown stoneware for handbuilding.  The white cylinders hold up the shelves and must be a little taller than everything else on the shelf.DSC_7426So, we have lots of glazing ahead but first we must wax our bottoms!  Glaze melts and if it is left on the bottom of a pot and placed on a shelf and fired it will turn from art to artifact before you can say “another kiln shelf ruined!!”.DSC_7434Speaking of things getting ruined, any place that wax is, glaze will not stick.  We must be careful not to put waxy fingerprints or drips on places that want glaze.  The only remedy for sloppy waxing is a refire in the next bisque to burn it off.  So with one hand for the pot and one for the wax we press on.DSC_7450I usually start with the accent glazes in multi colored items.  These accents can be covered by a dip in another glaze, or I might cover it with wax to make it stand out more.  I do many many test tiles with different glaze combinations to see what works and then I WRITE IT ALL DOWN!!  It is so important to keep records of firings, glazes, how applied, how thick etc.  It really cuts down on the clinkers!DSC_7459

Things start to get more organized as we glaze.   I am currently having fun with a line of glazes, Stroke&Coat by Mayco.  They come in a rainbow of colors, won’t run or react to each other, can be mixed or laid one color over another.  I also use them to sponge onto some of my big bucket glazes.DSC_7452These Victorian house bird feeders had accent glazes painted on to shutters, doors etc then wax on the color, then dipped in my half filled 5 gallon bucket of “white enamel”.  I use a sponge to dab off any white glaze that sticks to the wax while it is still wet.DSC_7542These turtles have been dipped in “lemon yellow” glaze, the one on the left has a layer of stroke & Coat orange underneath.  After wiping the bottom of their feet they are loaded in the kiln.  Everything gets on last once over with a wet sponge to remove any specks of glaze on the bottom.DSC_7549We then load the glaze kiln, where nothing can touch, and must be about a 1/4 inch away because as the firing progresses everything will get larger, and then shrink to a smaller size than when we started. DSC_7460Hello Alice, we are in wonderland now.Photo 9After 8-10 hours in a hot kiln and another 12 hours cooling off…..DSC_7470DSC_7471Magic has happened!DSC_7767All that was dull and dusty is now shiny, bright and new again!DSC_7539I like to play around with possible combinations, the roof and porch are not attached so they are interchangeable.  The leaves in front are awaiting a copper wire to transform them into Woodsprites.DSC_7554Having a cat wandering through makes life so much more excitingDSC_7731A formal picture and a posting online completes the cycle, time to clean off the table and begin again!


Green Man a how-to-tutorial

I recently got a commission to make a Green man and I took the opportunity to document the process.

I make my green men and women using basic hand building techniques.  I start with a large lump of clay 5-6 pounds and I form a shallow bowl just like a large pinch pot, slowly pressing into the lump and squeezing until I have an oval shape that is 1/2 – 1″ thick, and the sides are 2-3″ tall.  The bowl shape is about the size of a large face.  I go large because fired clay shrinks with each firing and I want them to be on the monumental side.

DSC_5404

Then I wait,,,when the clay is ready, and this is crucial, it’s time to start pushing, pressing, shaving and adding clay to form a face.  The clay needs to be pretty pliable but not so soft as to collapse.  The thickness of the bowl helps by giving without ripping.  How long to wait? That depends on the humidity and can be slowed by wrapping tight or loosely in plastic.  Resist the temptation to hurry the drying as this will probably just form a stiff skin on the out side making it hard to push.DSC_5402

I use photos of faces, my own face and my fingers as a ruler to rough out the proportions. I concentrate on eyes, nose and mouth since the rest will be covered by leaves.  It takes several days working a few hours each day to finish the face.  The clay is kept moist by sponging with water and wrapping in plastic during the forming phase.  This is important so the leaves will adhere properly.  It also allows for fine work at the end of the process.DSC_5418 DSC_5420


The leaves are cut from slabs of clay about 1/4″ thick.  I use real leaves collected in the fall, green leaves rot quickly but some have to be used green for example grape and paw paw because they don’t store well.  A large green man can take up to 36 leaves.

The assembly must be done on the kiln shelf because the piece can’t be moved once it is dry.  I add a coil of clay in a circle around the face to attach the leaves and give a little space for fingers to pick it up.DSC_5443 DSC_5445

After the piece is completely dry, it is bisque fired to cone 04.  The item featured here took over a week to dry because mother nature brought on the rain that week and even with fans I had to do a two day slow dry in the kiln to be sure.  Be careful drying in the kiln, you can dry out the skin and leave a bit of moisture inside leading to a spectacular explosion and a pile of shards.

drying...

drying…

still drying....

still drying….

After the bisque firing the piece can be handled, the dust washed off, and glaze or stains applied. One more firing to a higher temperature, cone 4, and then we wait,,,,,, for everything to cool off!

all fired up in the kiln

all fired up in the kiln


after the first firing

after the first firing