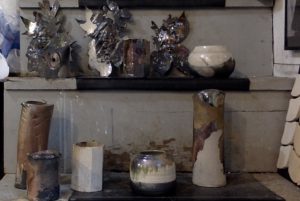
Glazing is one of the most nerve wracking and at the same time the most satisfying aspect of making pottery. The transformation from a dull dusty finish to the shiny colors of finished pieces is nothing short of amazing. Before we glaze the pottery must be bisque fired. This turns the clay to stone and allows easier handling and better absorption of the glaze into the pores of the ware. It’s important to glaze soon after the bisque fire to avoid a build up of dust and grease that can inhibit the glaze from staying put during the next firing.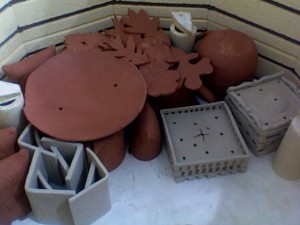 In the bisque fire the green ware can be stacked and stuffed in pretty tightly. I put enough items in this bisque fire to do two glaze firings.
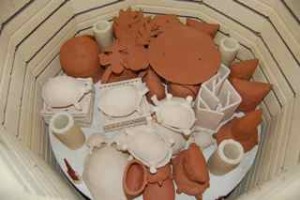 After the firing everything is unstacked and laid out on the table. I use a white and a dark brown stoneware for handbuilding. The white cylinders hold up the shelves and must be a little taller than everything else on the shelf.
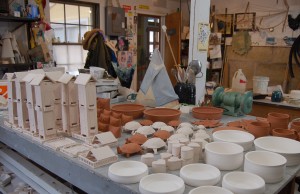 So, we have lots of glazing ahead but first we must wax our bottoms! Glaze melts and if it is left on the bottom of a pot and placed on a shelf and fired it will turn from art to artifact before you can say “another kiln shelf ruined!!”.
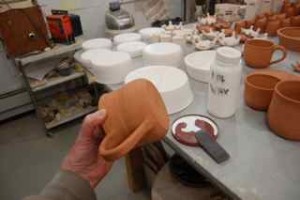 Speaking of things getting ruined, any place that wax is, glaze will not stick. We must be careful not to put waxy fingerprints or drips on places that want glaze. The only remedy for sloppy waxing is a refire in the next bisque to burn it off. So with one hand for the pot and one for the wax we press on.
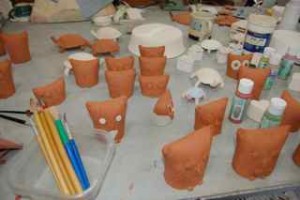 I usually start with the accent glazes in multi colored items. These accents can be covered by a dip in another glaze, or I might cover it with wax to make it stand out more. I do many many test tiles with different glaze combinations to see what works and then I WRITE IT ALL DOWN!! It is so important to keep records of firings, glazes, how applied, how thick etc. It really cuts down on the clinkers!
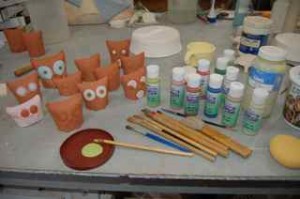
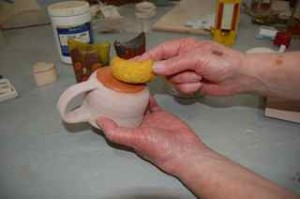
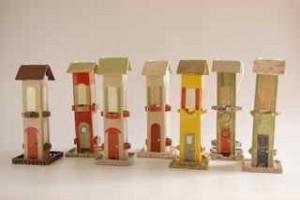
Things start to get more organized as we glaze. I am currently having fun with a line of glazes, Stroke&Coat by Mayco. They come in a rainbow of colors, won’t run or react to each other, can be mixed or laid one color over another. I also use them to sponge onto some of my big bucket glazes.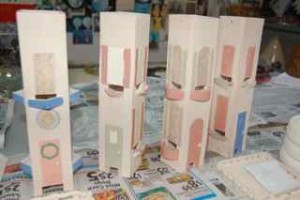 These Victorian house bird feeders had accent glazes painted on to shutters, doors etc then wax on the color, then dipped in my half filled 5 gallon bucket of “white enamel”. I use a sponge to dab off any white glaze that sticks to the wax while it is still wet.
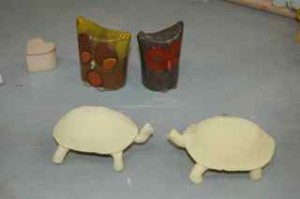 These turtles have been dipped in “lemon yellow” glaze, the one on the left has a layer of stroke & Coat orange underneath. After wiping the bottom of their feet they are loaded in the kiln. Everything gets on last once over with a wet sponge to remove any specks of glaze on the bottom.
 We then load the glaze kiln, where nothing can touch, and must be about a 1/4 inch away because as the firing progresses everything will get larger, and then shrink to a smaller size than when we started.
 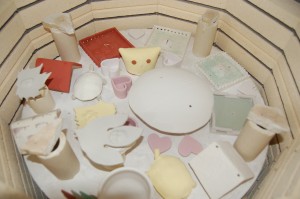 Hello Alice, we are in wonderland now.
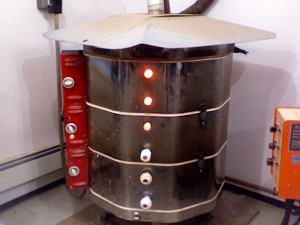 After 8-10 hours in a hot kiln and another 12 hours cooling off…..
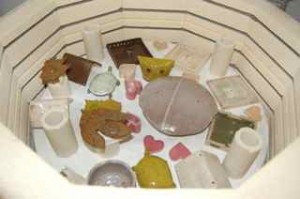
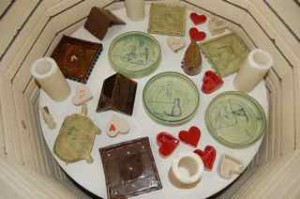 Magic has happened!
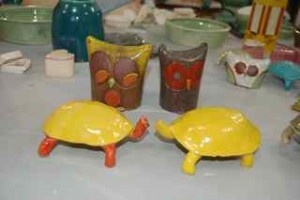 All that was dull and dusty is now shiny, bright and new again!
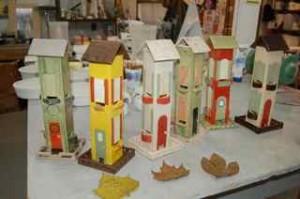 I like to play around with possible combinations, the roof and porch are not attached so they are interchangeable. The leaves in front are awaiting a copper wire to transform them into Woodsprites.
 Having a cat wandering through makes life so much more exciting
 A formal picture and a posting online completes the cycle, time to clean off the table and begin again!
